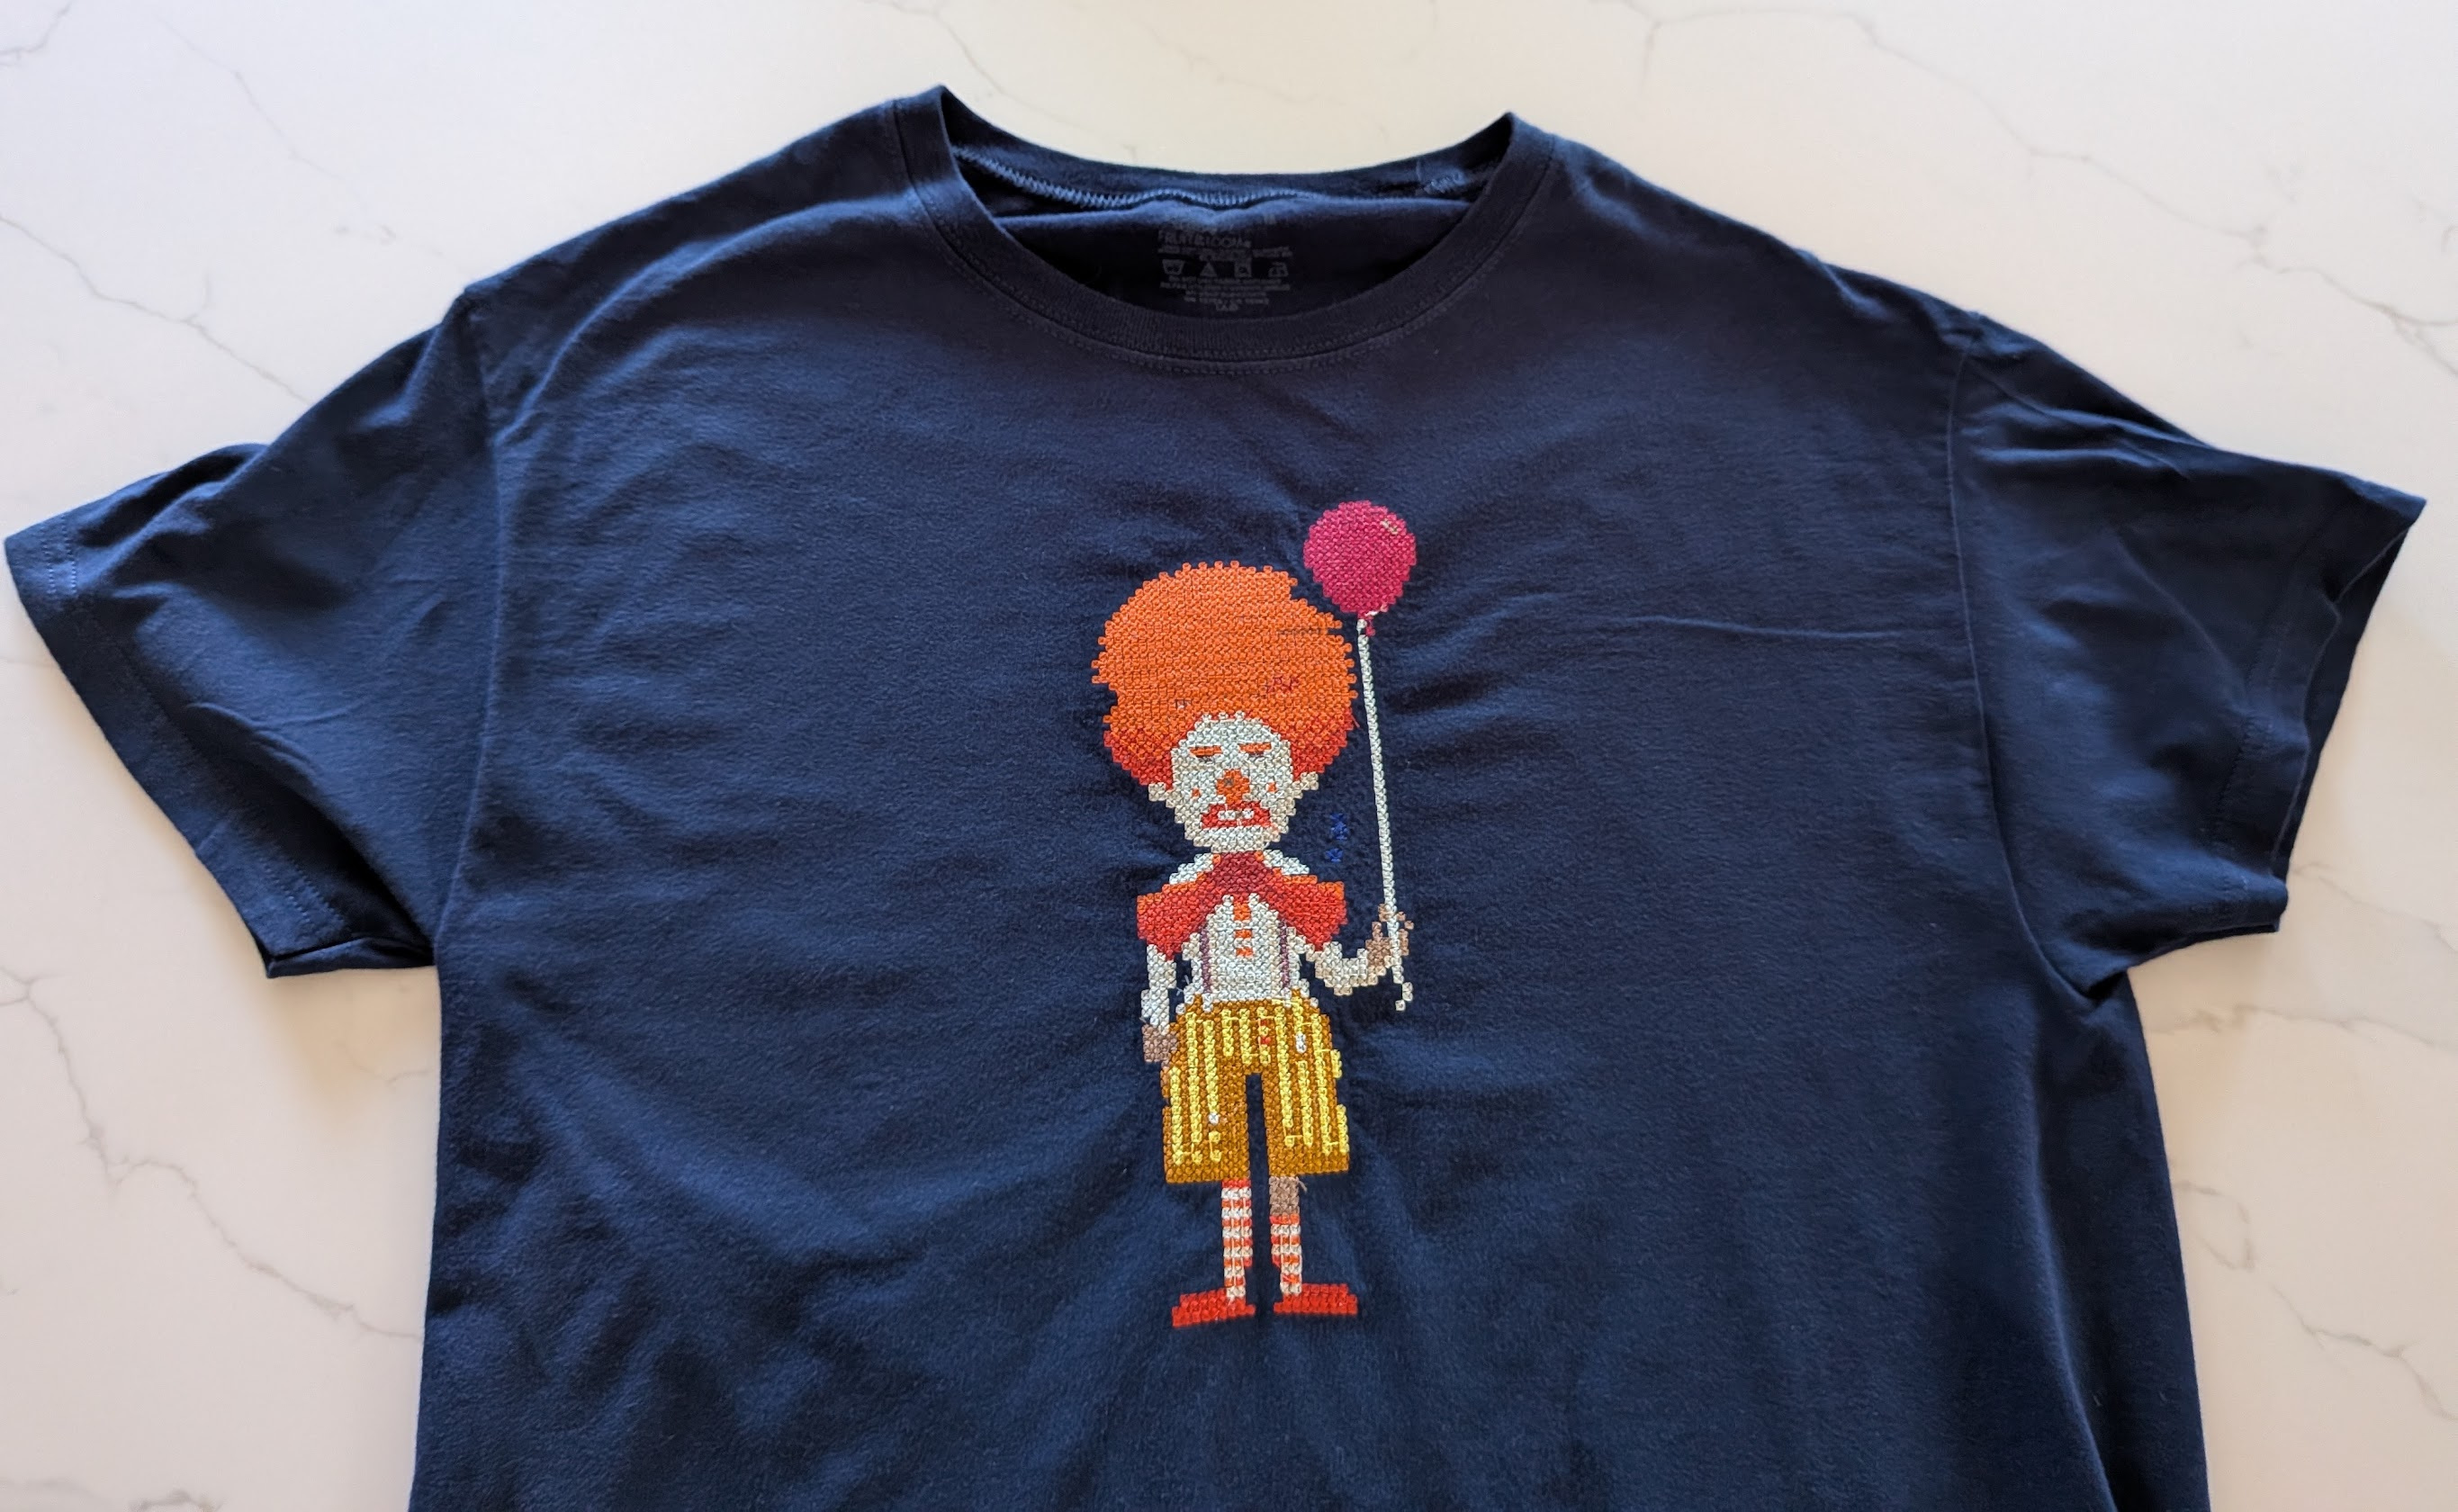
First of all, if you are not familiar with Ransome the Clown, you should stop right now, and play the great video game Thimbleweek Park.
Here are the steps to embroider the t-shirt:
1. Analyze and edit the sprite to embroider
The first thing to do is to analyze the sprite to embroider. The original sprite has 41 colors, and using GIMP, I reduced them to 10 colors.
The reasons to reduce the colors from 41 to 10 are:
- Less thread changes
- Less jump stitches
- I might not have those 41 colors as threads
- It is difficult to match colors. What you see on a display might look different when it is embroidered.
![]()
Original sprite taken from here.
2. Create the path
Then I opened the sprite with Pixem (my custom editor, which I will release once it is stable enough), to create the “path”.
By “path” I mean the sequence of pixels to be embroidered. Having a “optional” path reduces time, and jump stitches.
My editor helps with creating the “path”, among other things.
Once I have something that I like, I export it to SVG, which includes metadata that is recognized by Ink/Stitch.
In this particular case, I’m using:
- Pull compensation: 0.2mm
- Min Jump Stitch length: 6.5mm
- Pixel size: 2.6mm
- Fill Method: Contour
- Underlay: Disabled
The formula that I use for the “min jump stitch length” is the Pythagorean theorem:
# Python code
length = math.sqrt( pixel_width ** 2 + pixel_height ** 2 )
Although, I might increase it a bit to reduce the number of jump stitches.
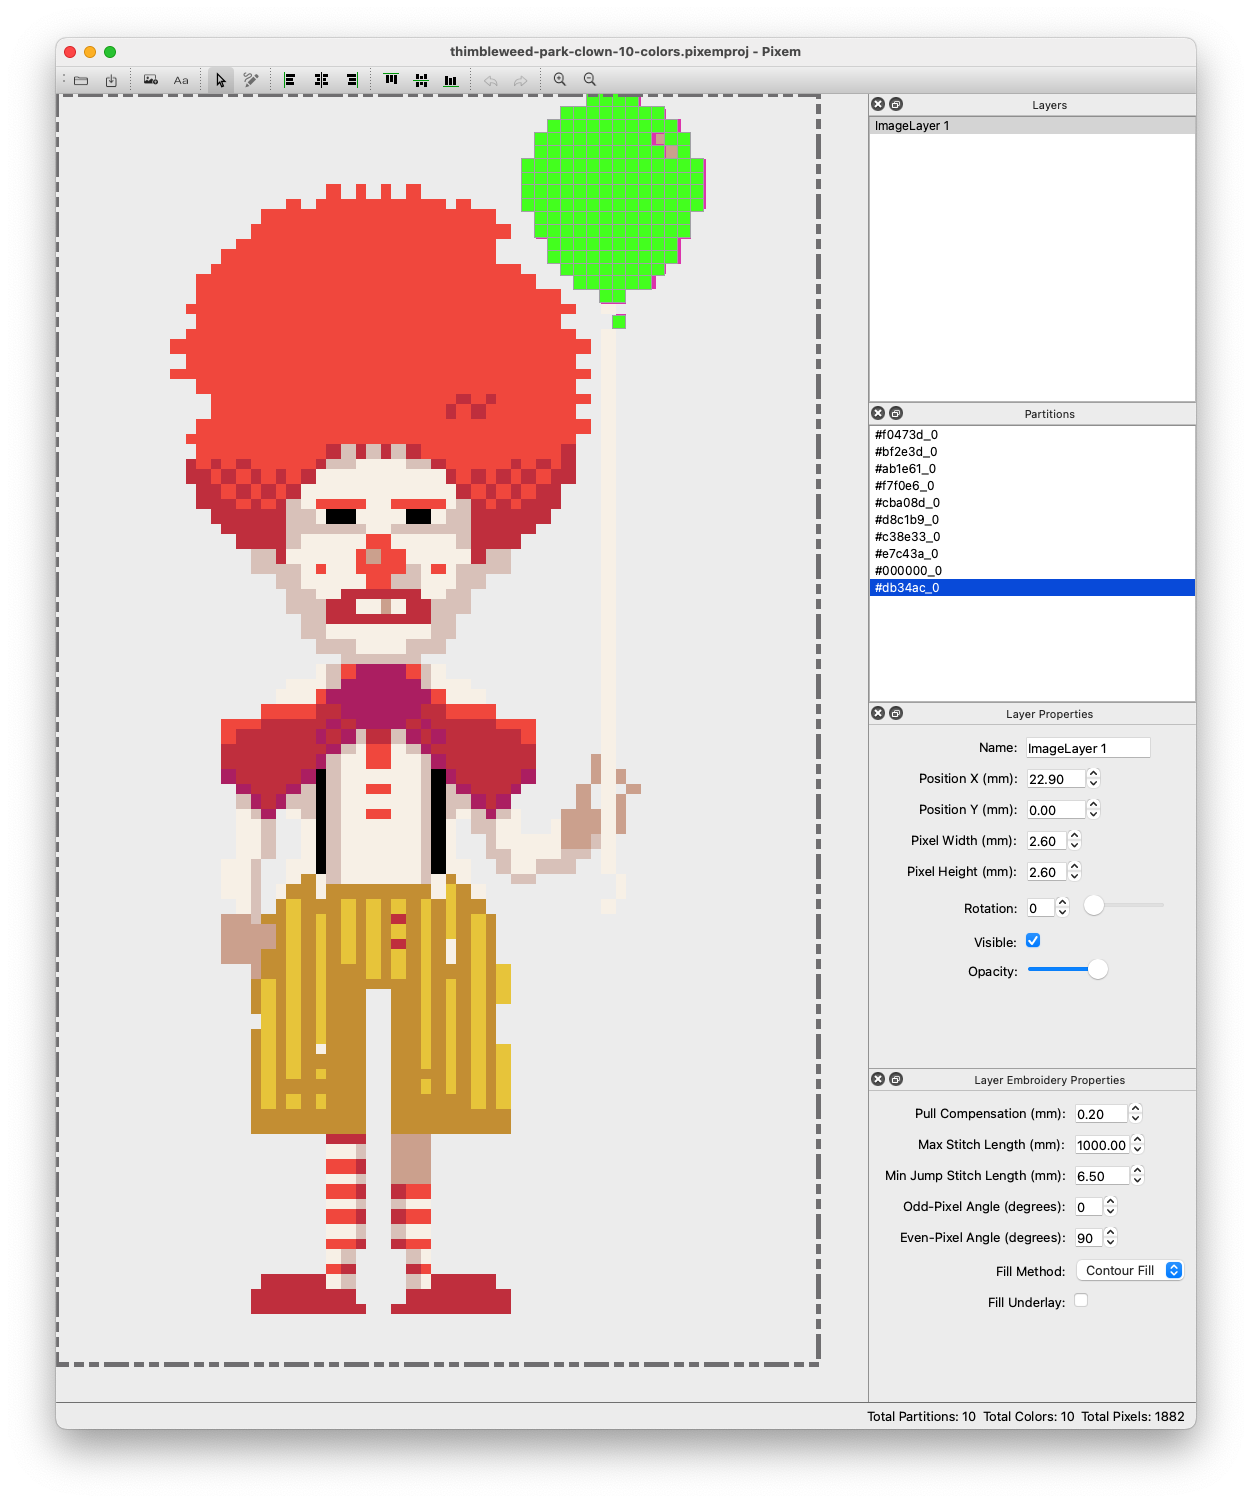
Pixem, the editor I created.
3. Use Ink/Stitch to generate the PES file
With Inkscape + Ink/Stitch, I open the exported SVG file, and I analyze the total number of jump stitches, and other possible things that could not be optimal.
If I don’t like what I see (e.g: too many jump stitches), I go back to Pixem and make further adjustments there.
I don’t use Inkscape + Ink/Stitch to modify the SVG file.
If I’m satisfied with what I see, then I do:
- Generate a PDF file (to know the order of the colors, have a real-world look, etc.).
- Generate a PES file (to be used by my embroidery machine).
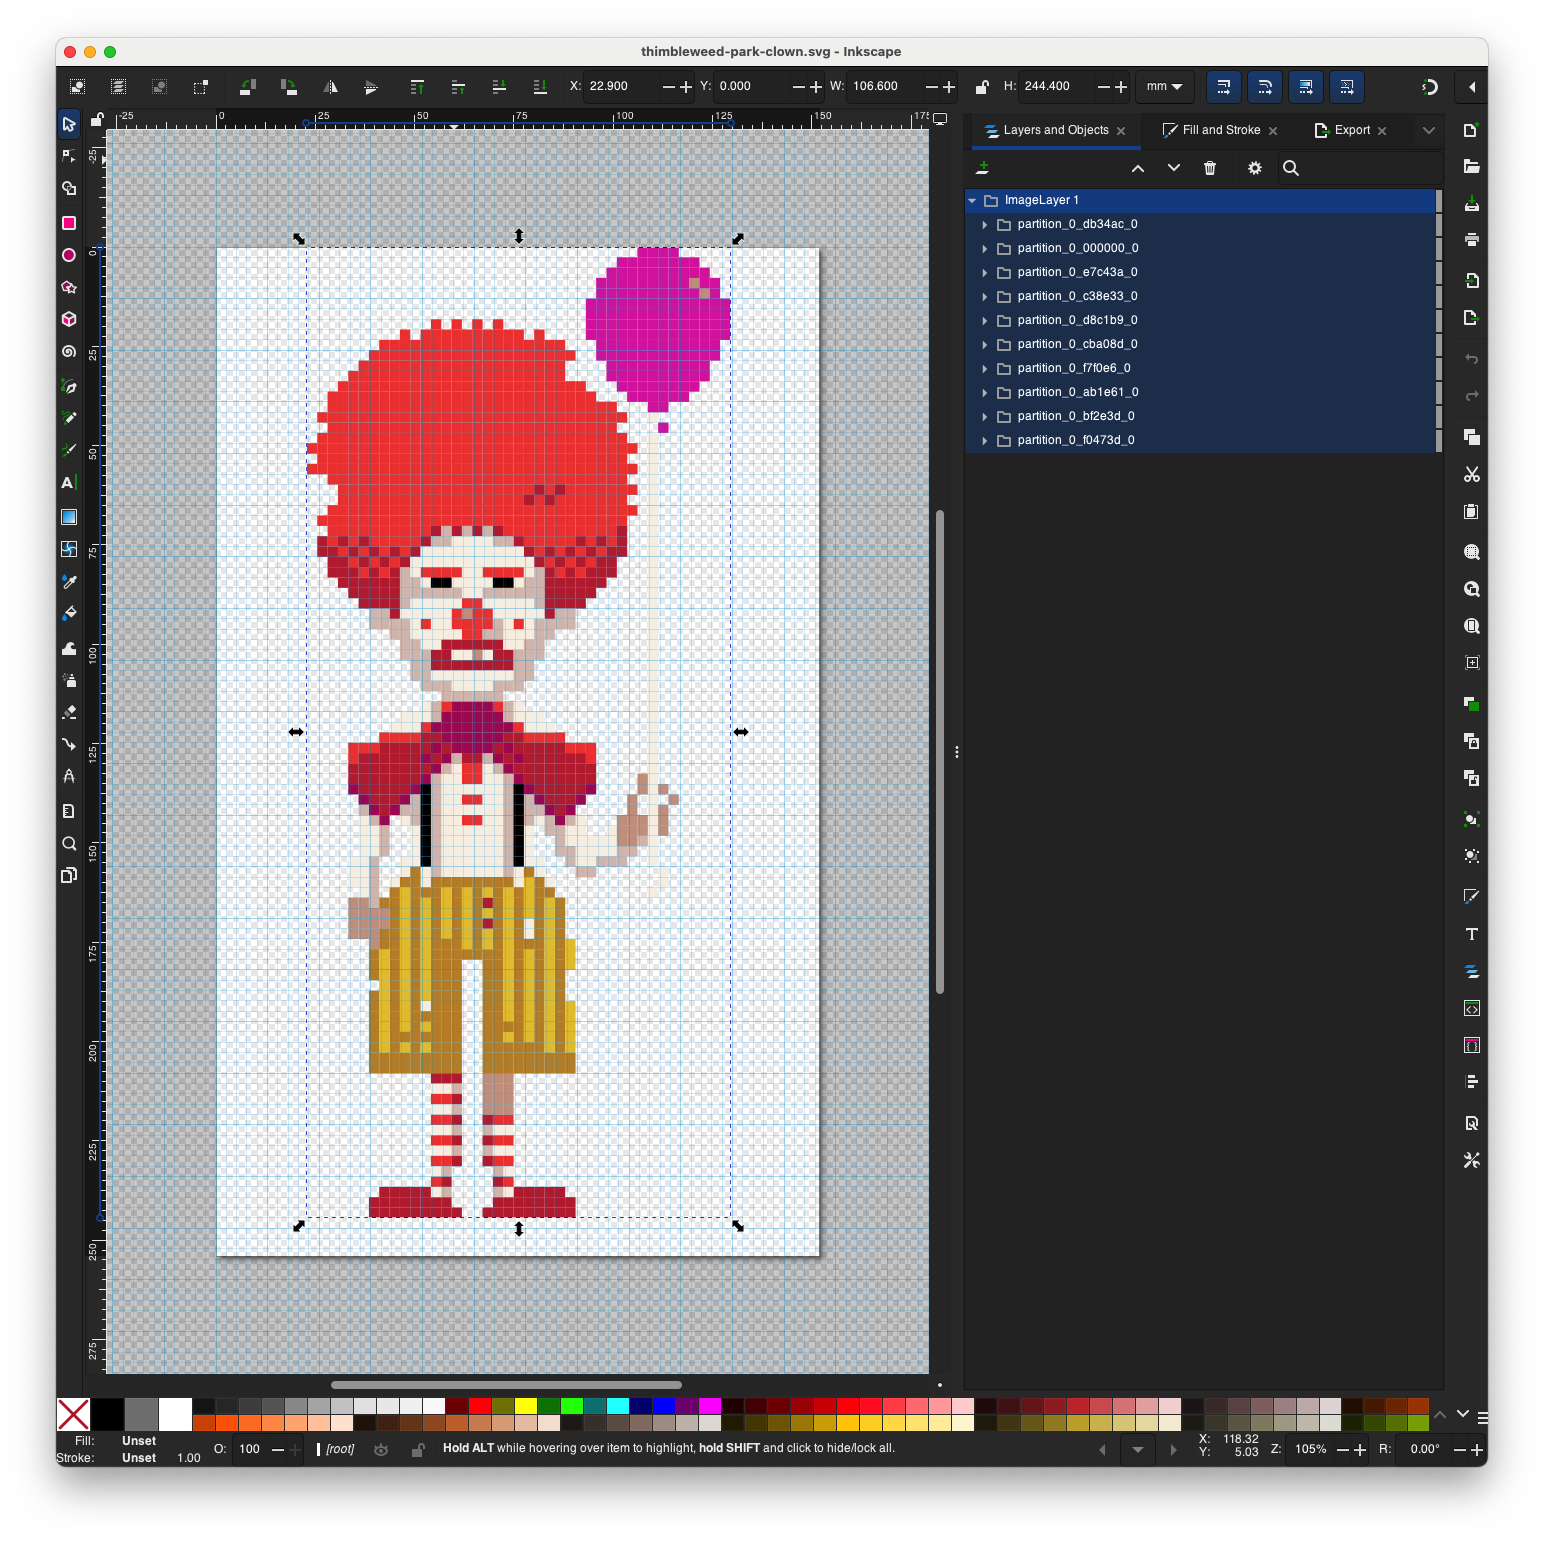
Inkscape with the Ink/Stitch plugin.
4. Prepare the T-shirt
I used two fusible iron no-show-mesh cut-away stabilizers. And I used a water-soluble embroidery topping to make the pixels look better.
Although the fusible iron stabilizer is great to prevent pucking, it “sticks” too much to the t-shirt. I might experiment with different alternatives in the future.
5. Embroider it!
And then I just embroider it. I have to babysit the embroidery process since many things could go wrong.
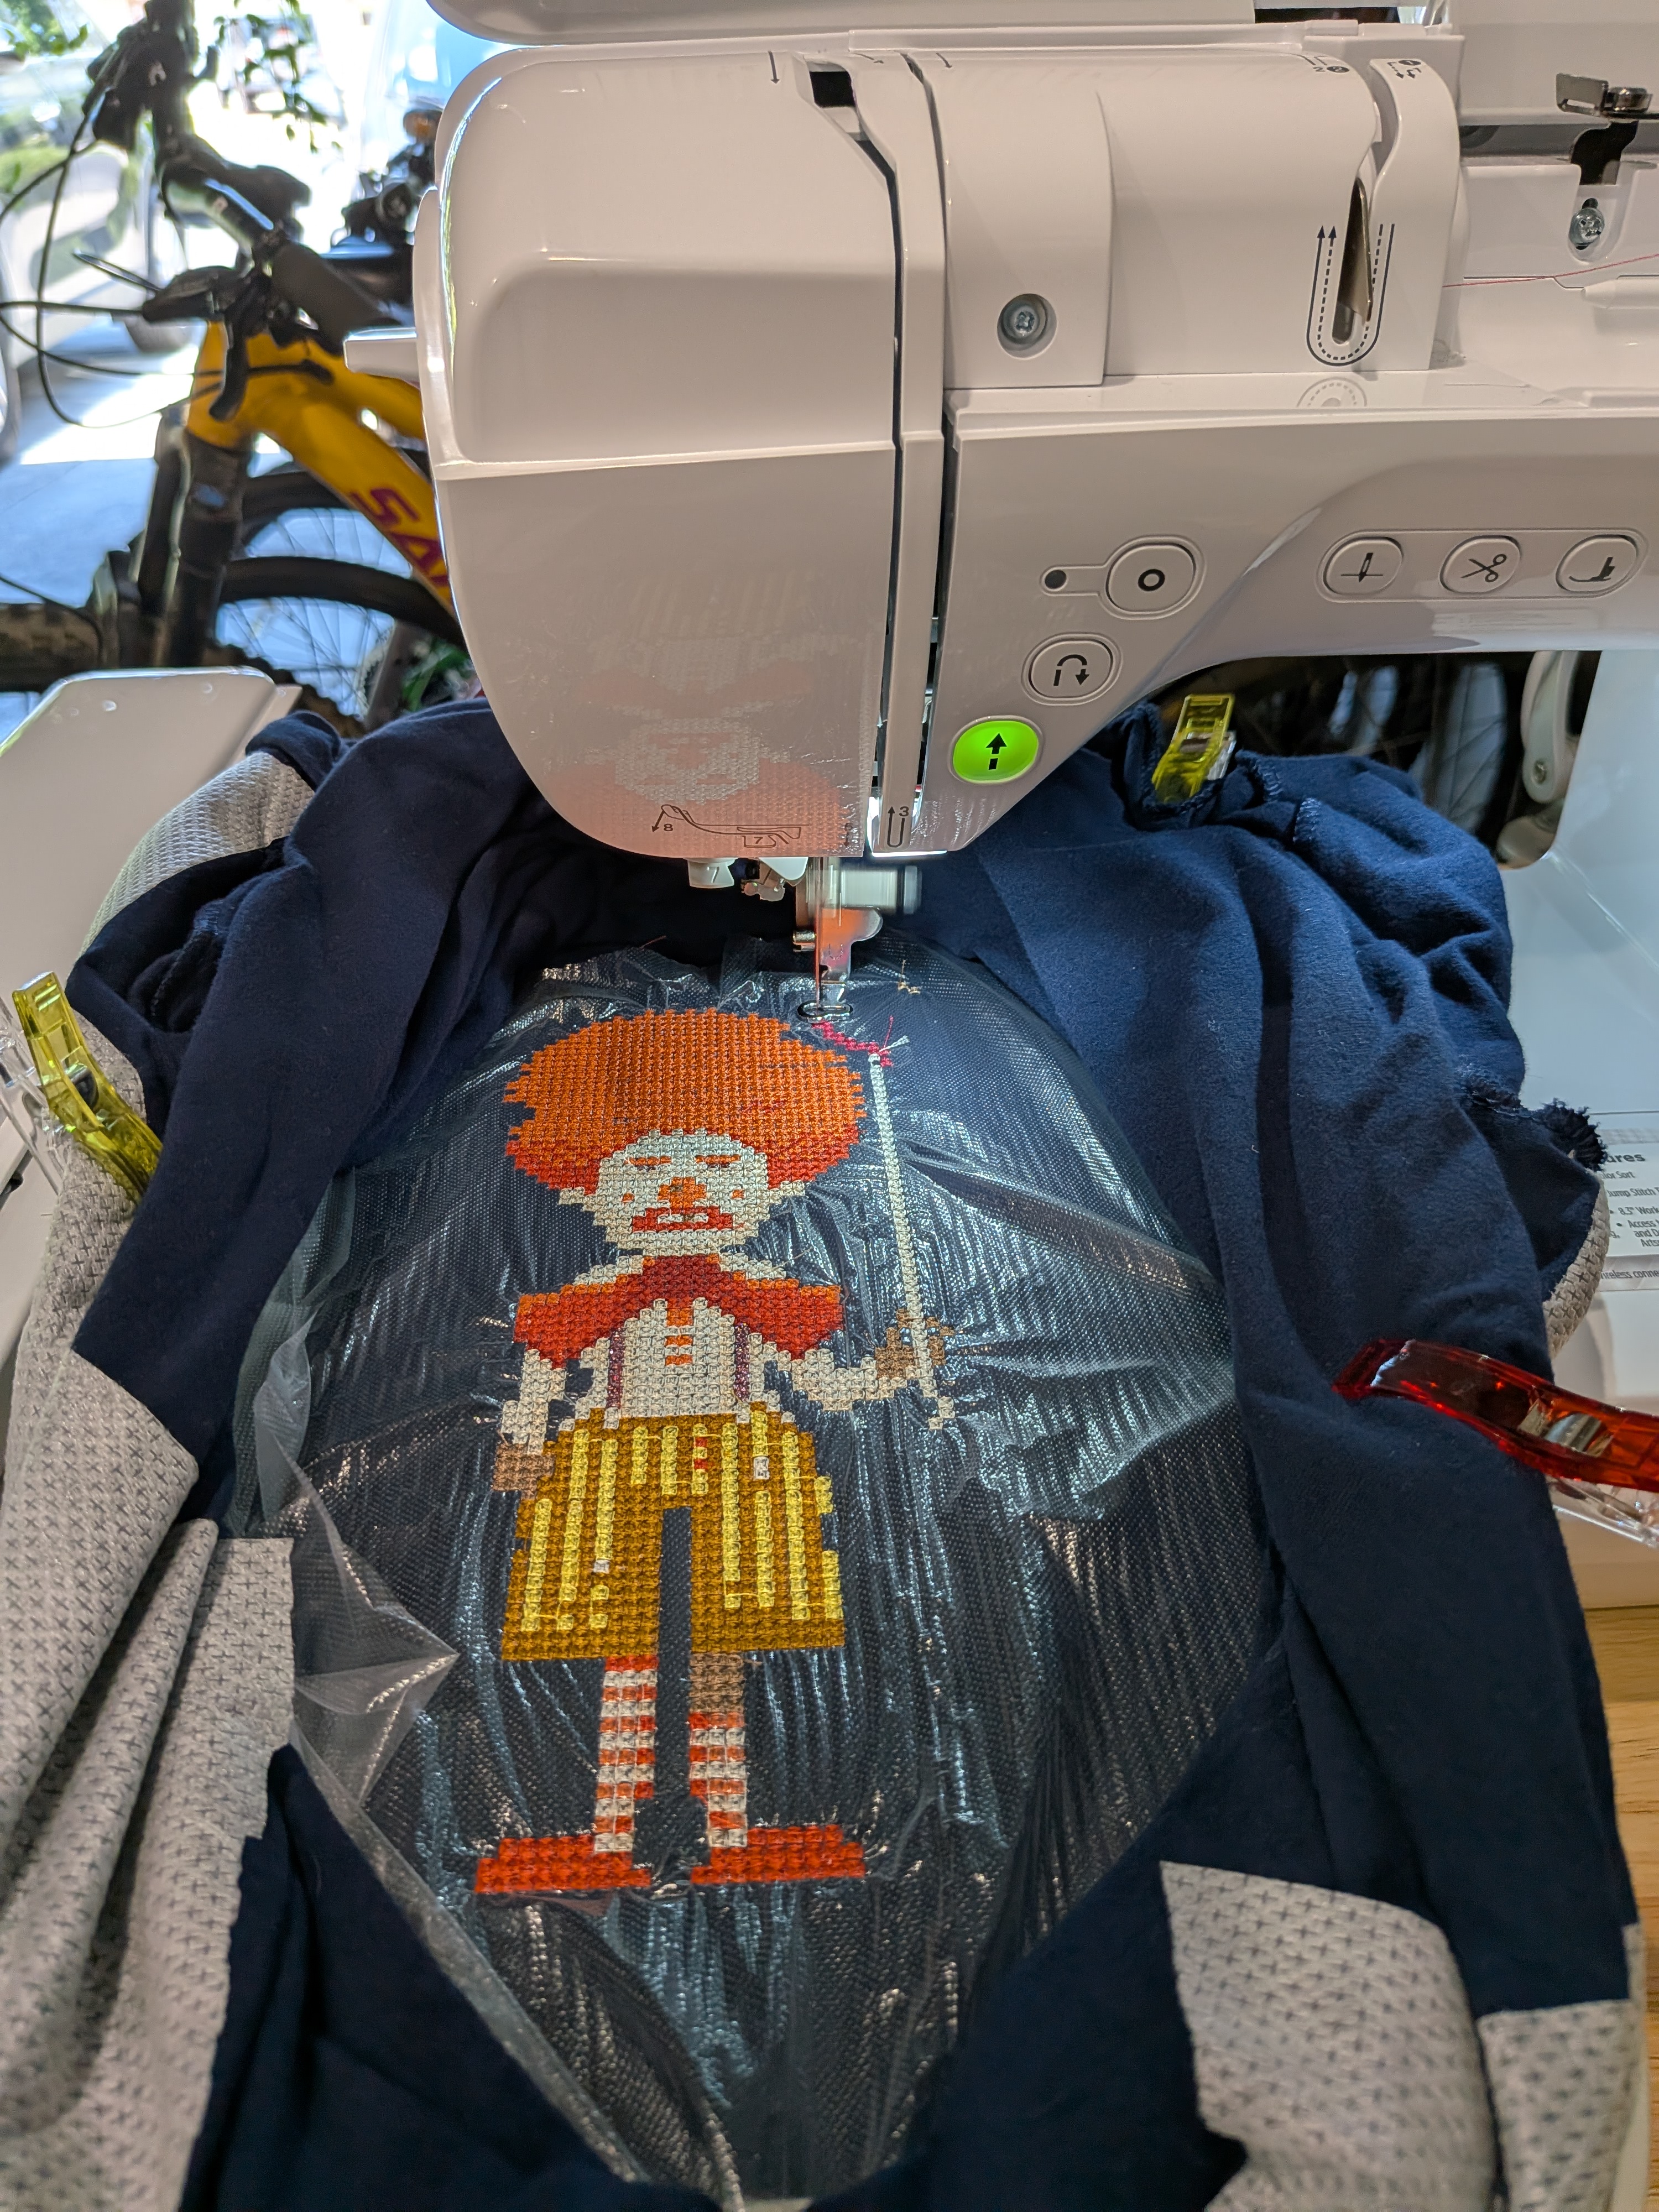
Embroidering Ransome the Clown using my Brother NQ3550w machine.
6. Fixing “bugs”
It is not uncommon that something goes wrong. In this particular case, while I was cutting the “cut away” stabilizer, I accidentally cut the t-shirt!
Since this is not the first time that happens to me, I didn’t panic. The way I fixed it is by embroidering “pixels” on top of the cut. The color, of course, should be as close as possible to the t-shirt.
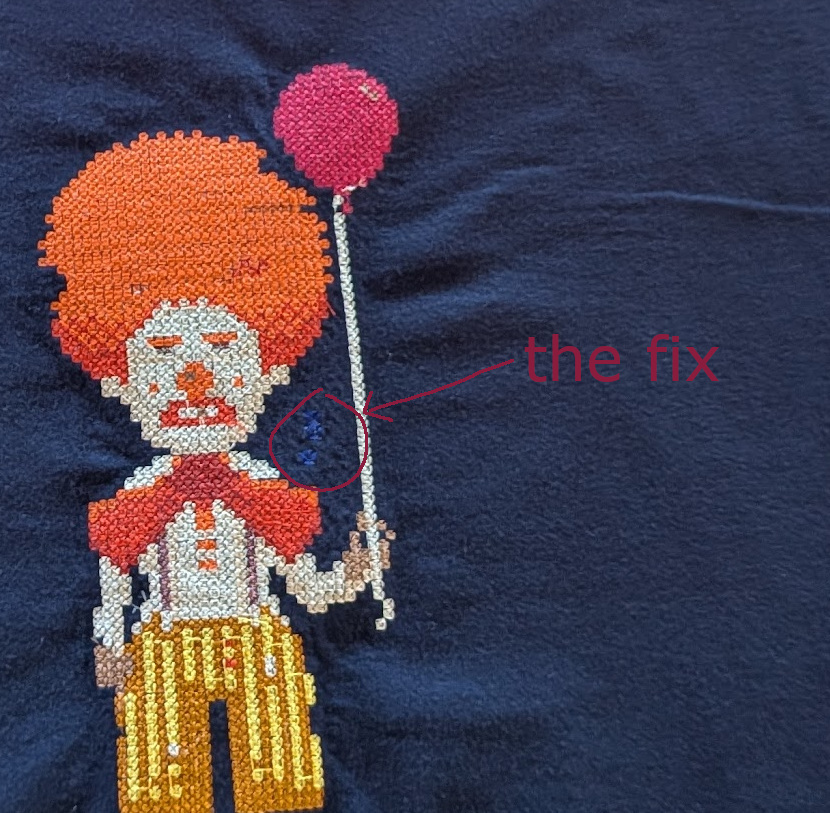
Patching the t-shirt.
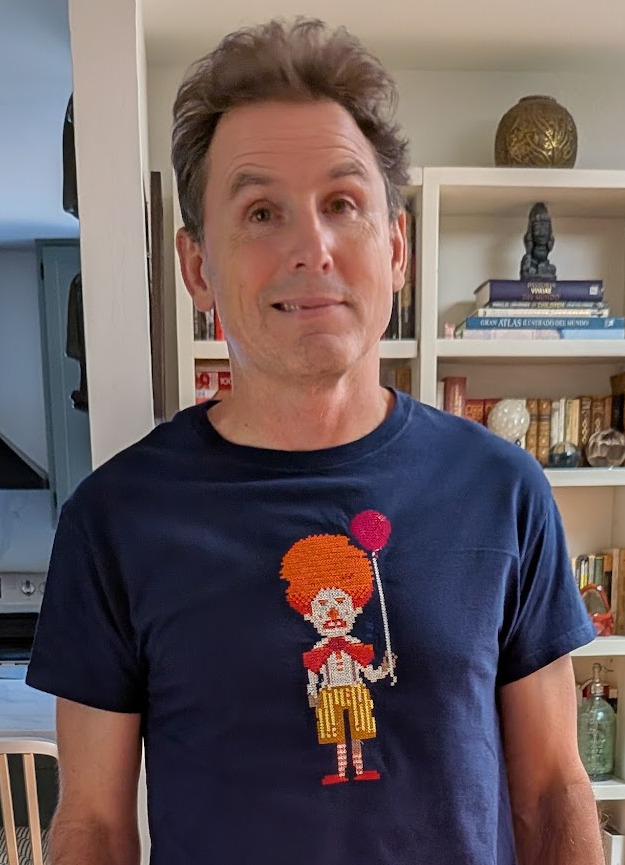
7. Success!
This post is 100% AI-free.