This past weekend, I had two events:
- Vintage Computer Festival West, at the Computer History Museum.
- And we hosted a party at home.
So I decided that nothing better than to embroider Le Chuck, from Monkey Island 2.
These are the steps that I followed to embroider it:
1. Grab the Sprite and simplify it
I took the sprite from The Legend of Monkey Island site.
![]() Original sprite has 13 different colors.
Original sprite has 13 different colors.
I slightly modified it so that it uses 9 colors instead of the original 13. I used GIMP to modify it.
2. Edit it with Pixem
 Using Pixem to define the order of the pixels, among other things.
I created the path-of-pixels (order in which the pixels are going to be embroidered) in Pixem, my custom editor.
I also set:
- Pixel size: 4.2mm x 4.2mm
- Pull compensation: 0.2mm
- Min jump stitch length: 10mm, which in hindsight was too much. More about this in a future blog post.
And from Pixem, I exported an SVG file with Ink/Stitch metadata.
3. Validate it with Ink/Stitch
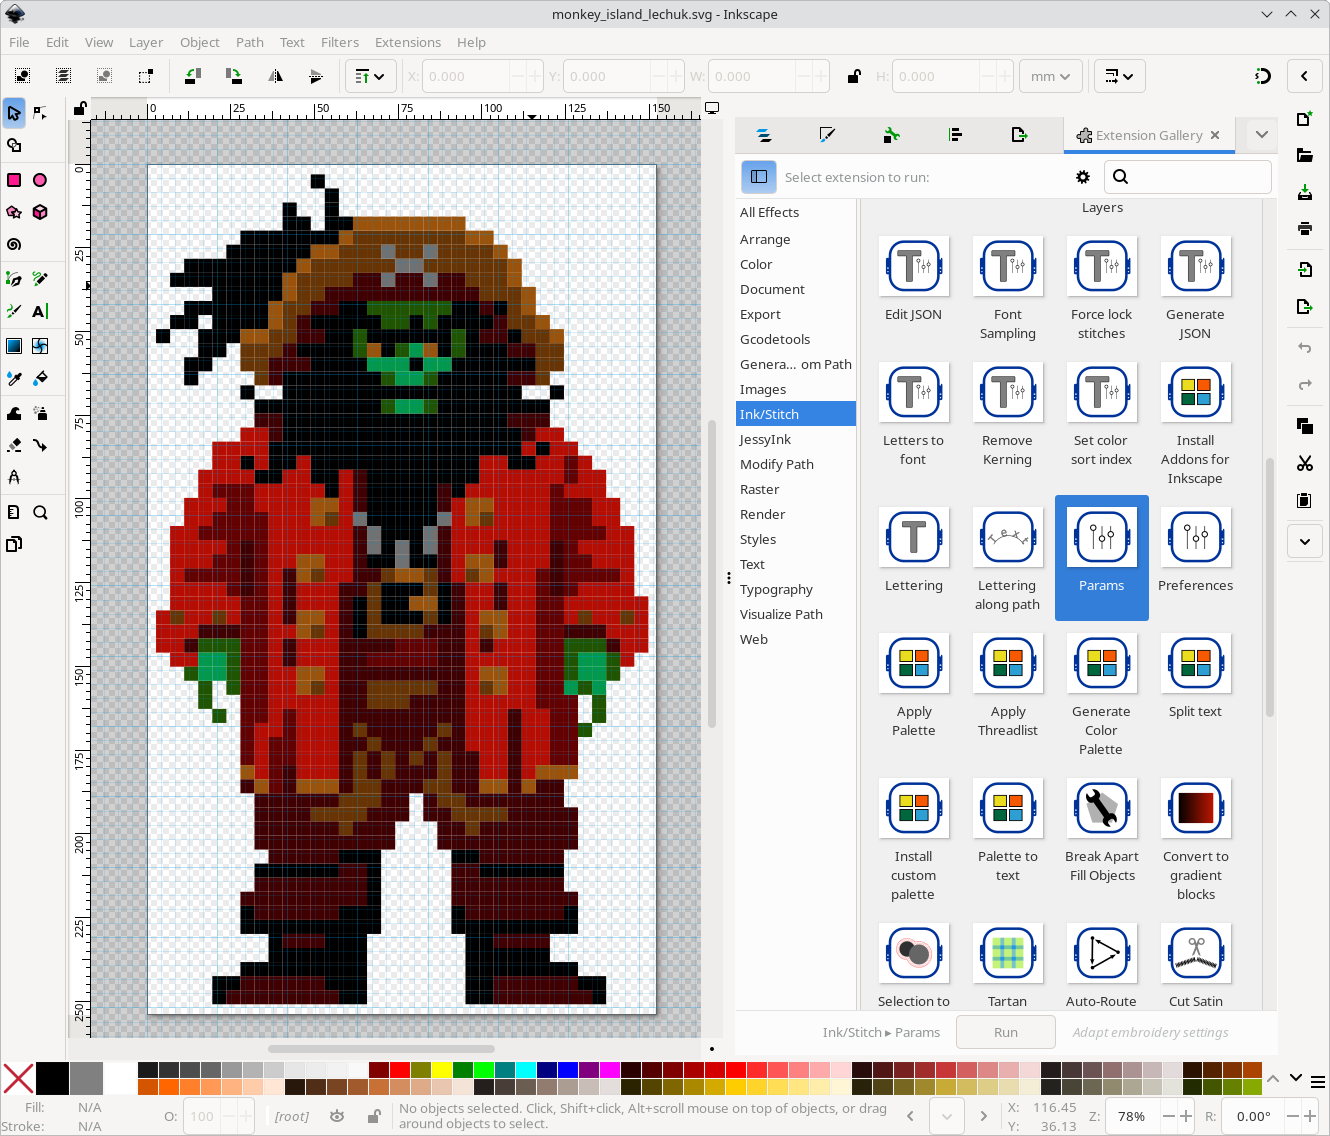 Using Inkscape + Ink/Stitch to validate and generate embroidery
files.
Using Inkscape + Ink/Stitch to validate and generate embroidery
files.
I analyzed the SVG file with Inkscape + Ink/Stitch. I checked that it looked good and I exported:
- PDF file: with the embroidery information, including a real-size of Le Chuck
- PES file: the one that my embroidery machine recognizes
4. Prepare the T-shirt
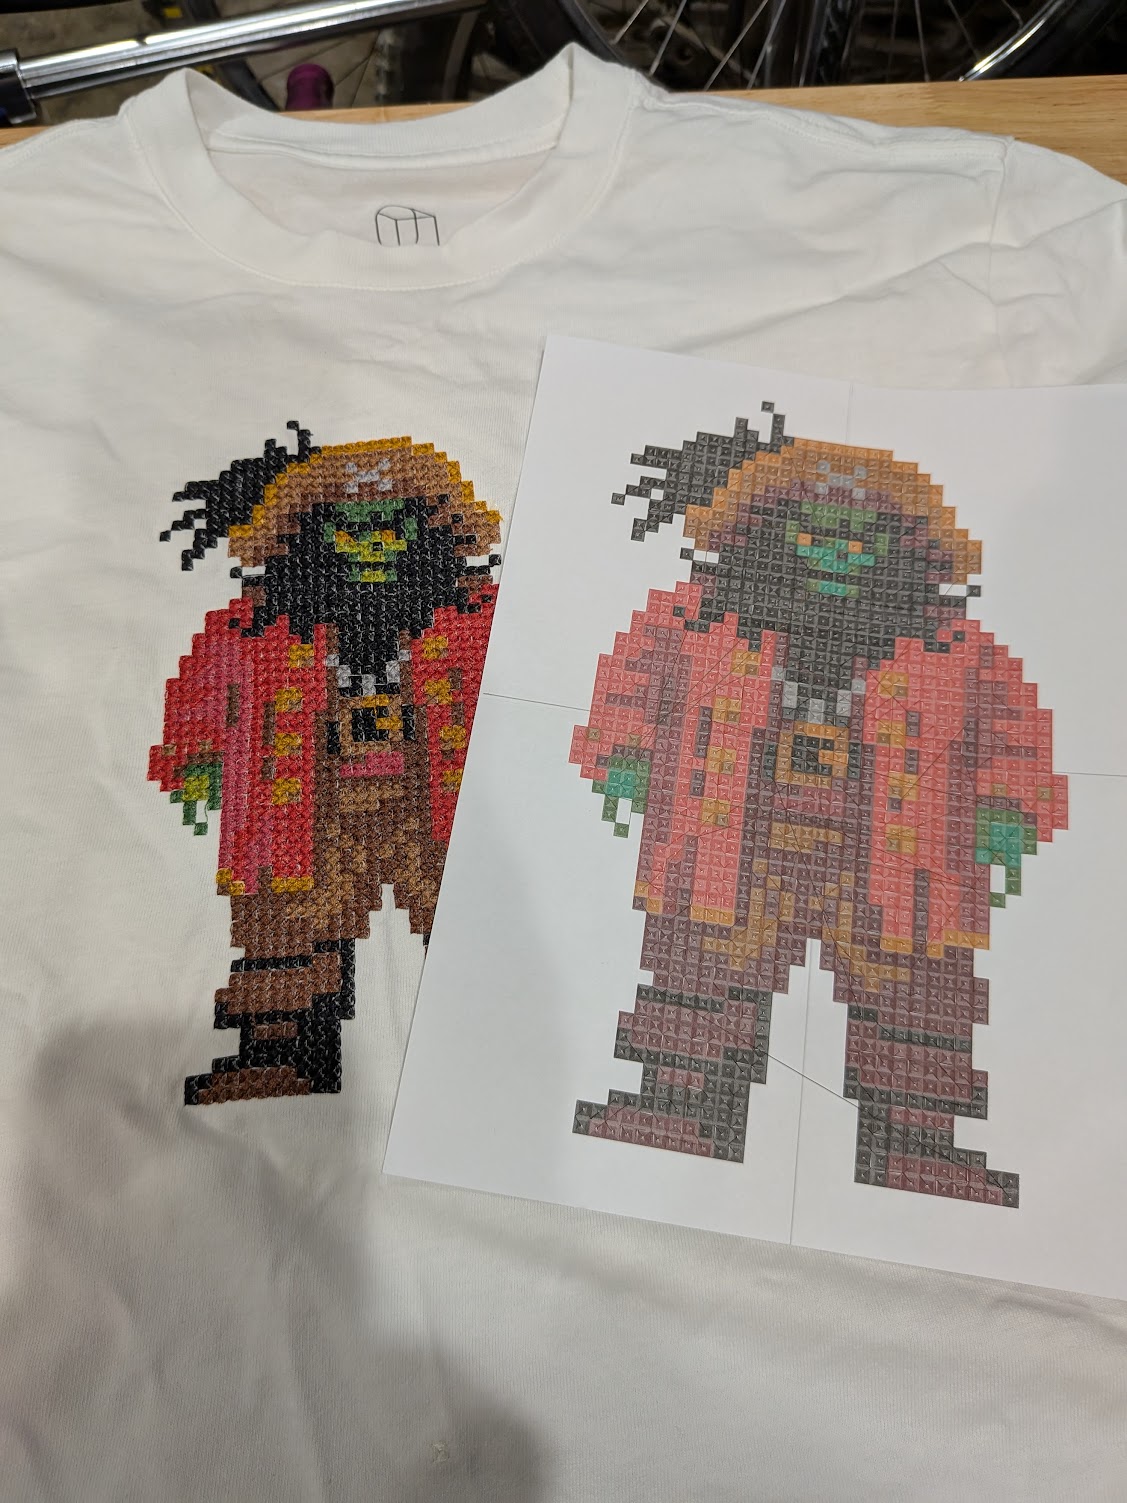
To center the hoop, I use a real-size printed version of Le Chuck.
I used the 6x10 hoop. The hoop aspect ratio and the sprite aspect ratio were almost the same one, yay!
It is recommended, when using the 6x10 hoop, to use t-pins to prevent a possible lateral movement. This time I forgot to put the pins. The good news is that I didn’t notice any “shift” in the final result.
I centered the hoop using a real-size printed version of Le Chuck.
As before, I used two layers of fusible iron no-show-mesh cut-away stabilizers. But this time I didn’t iron them “too much”. I only sprayed a tiny bit of water while ironing them. And I’m happy with the result since it was easier to cut and remove the stabilizers in the end.
I also used a [water-soluble embroidery topping][embroidery_topping] to make the pixels look better.
6. Choosing the correct color threads
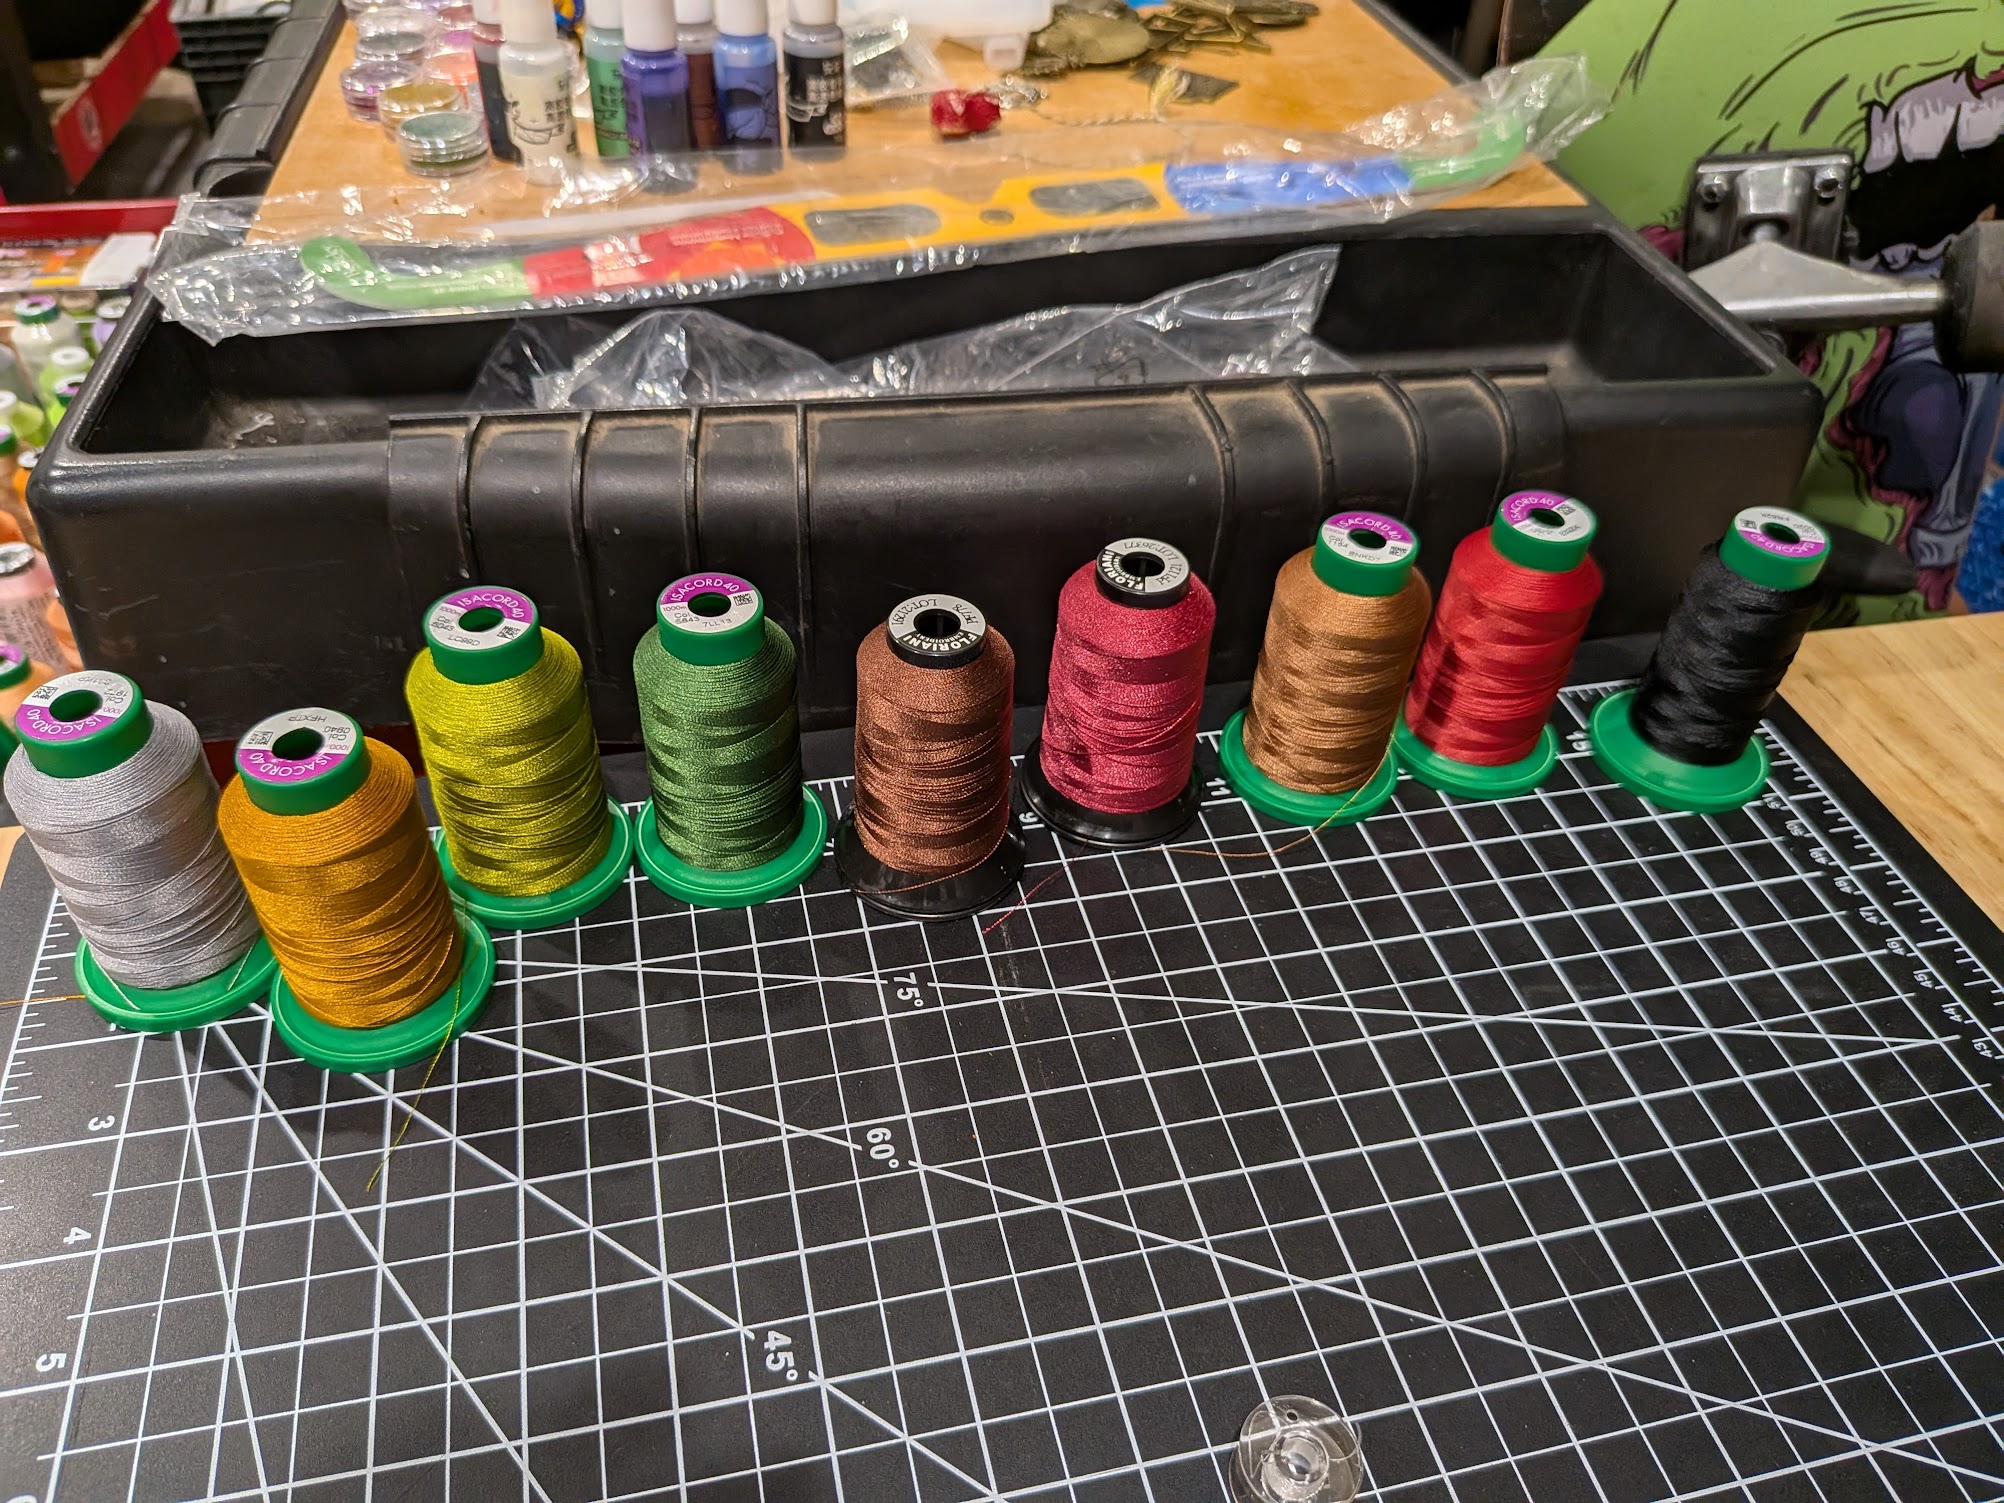 Threads used for Le Chuck.
Tip: Do not underestimate the task of choosing the right color threads.
7. Embroider it!
And then I just embroidered it. I had to babysit the embroidery process since many things could go wrong.
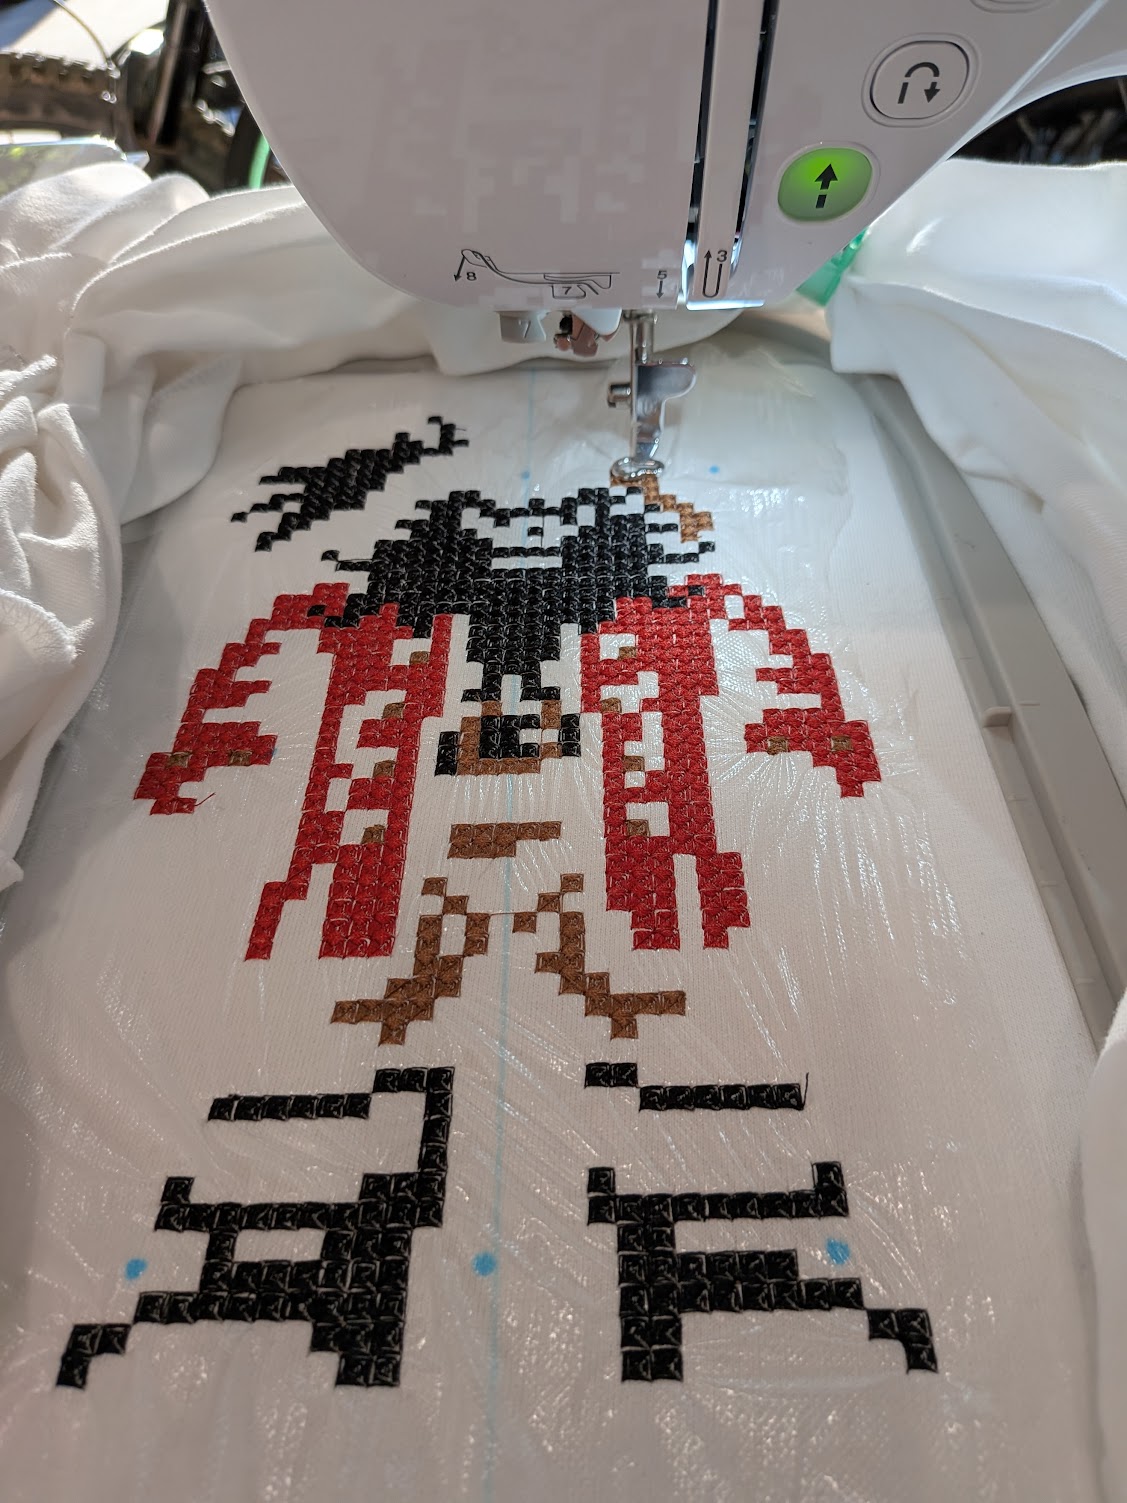
Embroidering Le Chuck in my Brother NQ3550w machine.
8. Trimming stabilizer and threads
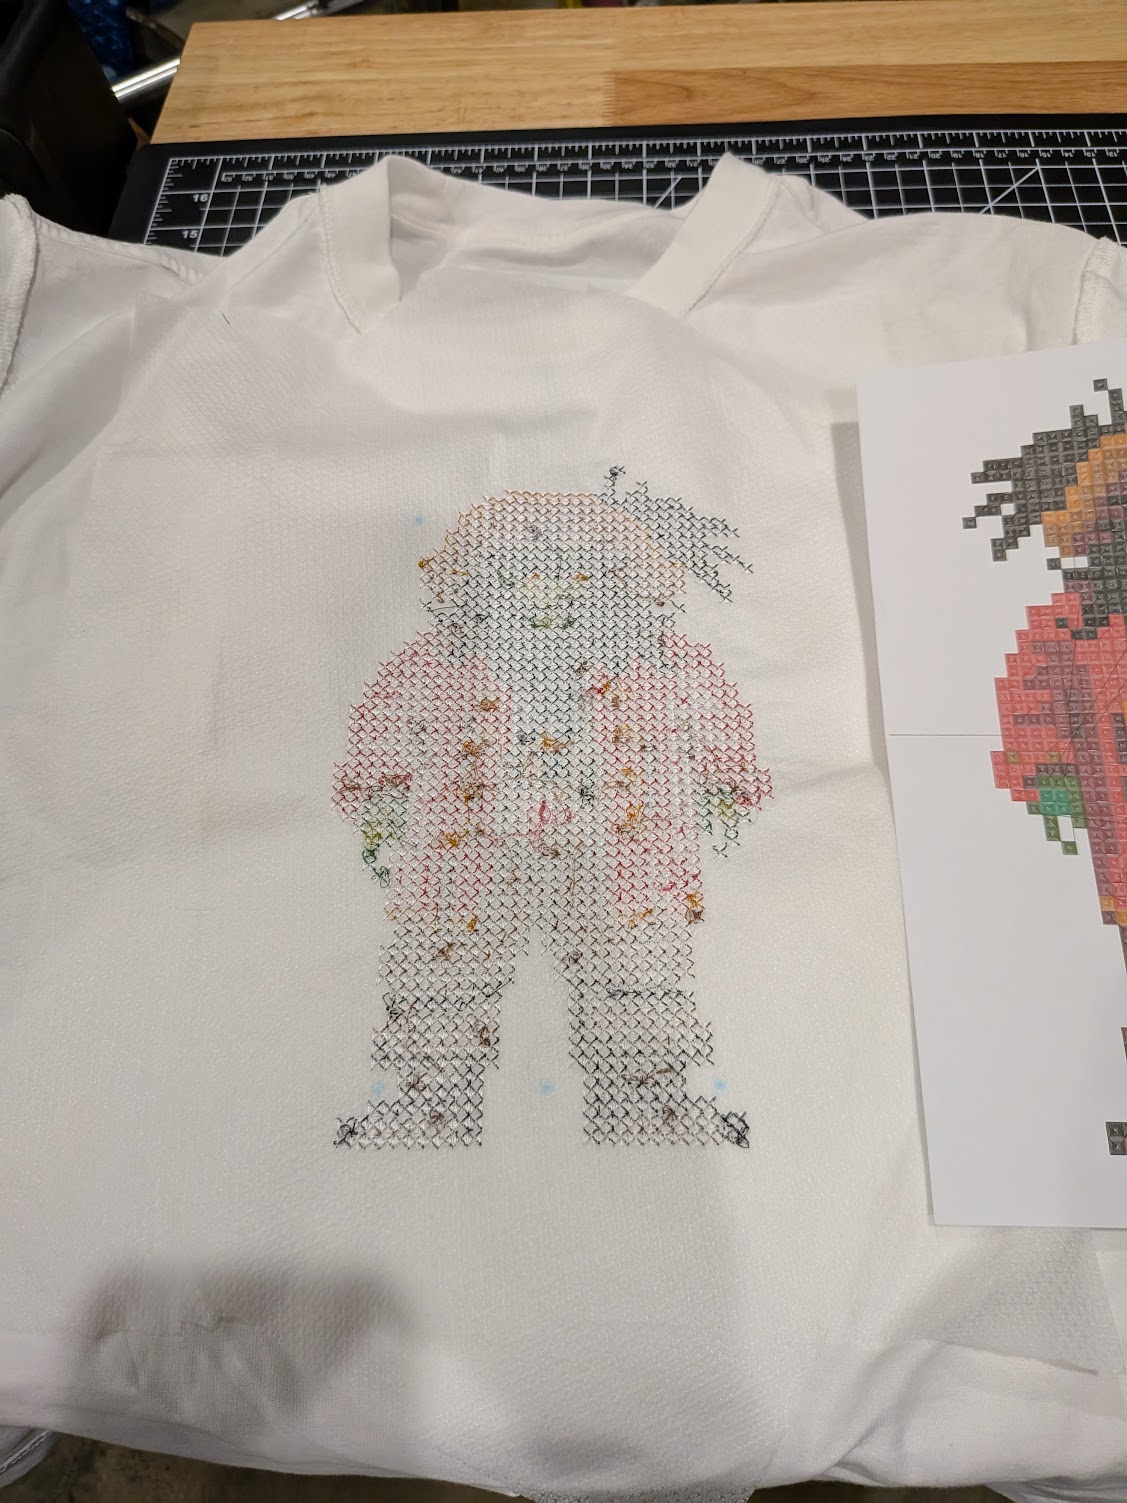
The t-shirt, from the “wrong” side after trimming the stabilizer and threads
Once you finish with the embroidery, there are two remaining tedious tasks:
- Trimming the “extra” stabilizer
- Trimming the threads that are “hanging” usually due to jump stitches
9. Fixing “bugs”
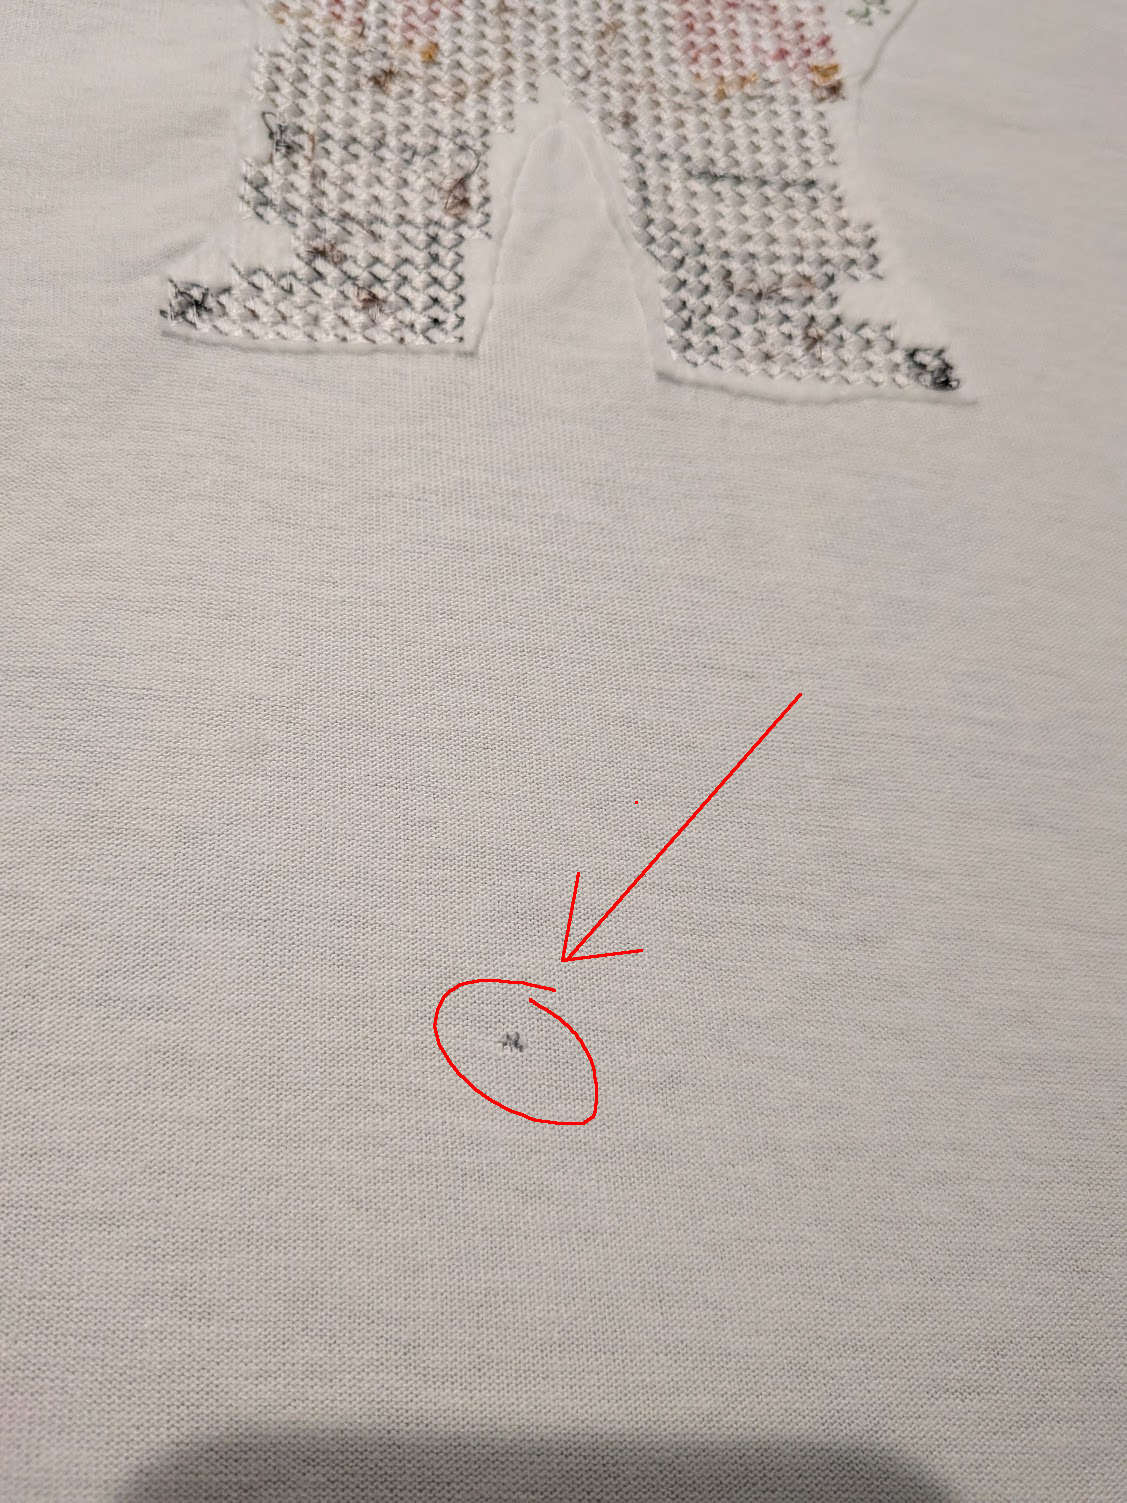
Bug, which I fixed by embroidering a “pixel” on top of it.
Tip: Always put your T-shirt inside a mesh bag before putting it in the washer machine.
As before, I fixed the “bug” by embroidering a “pixel” on top of it.
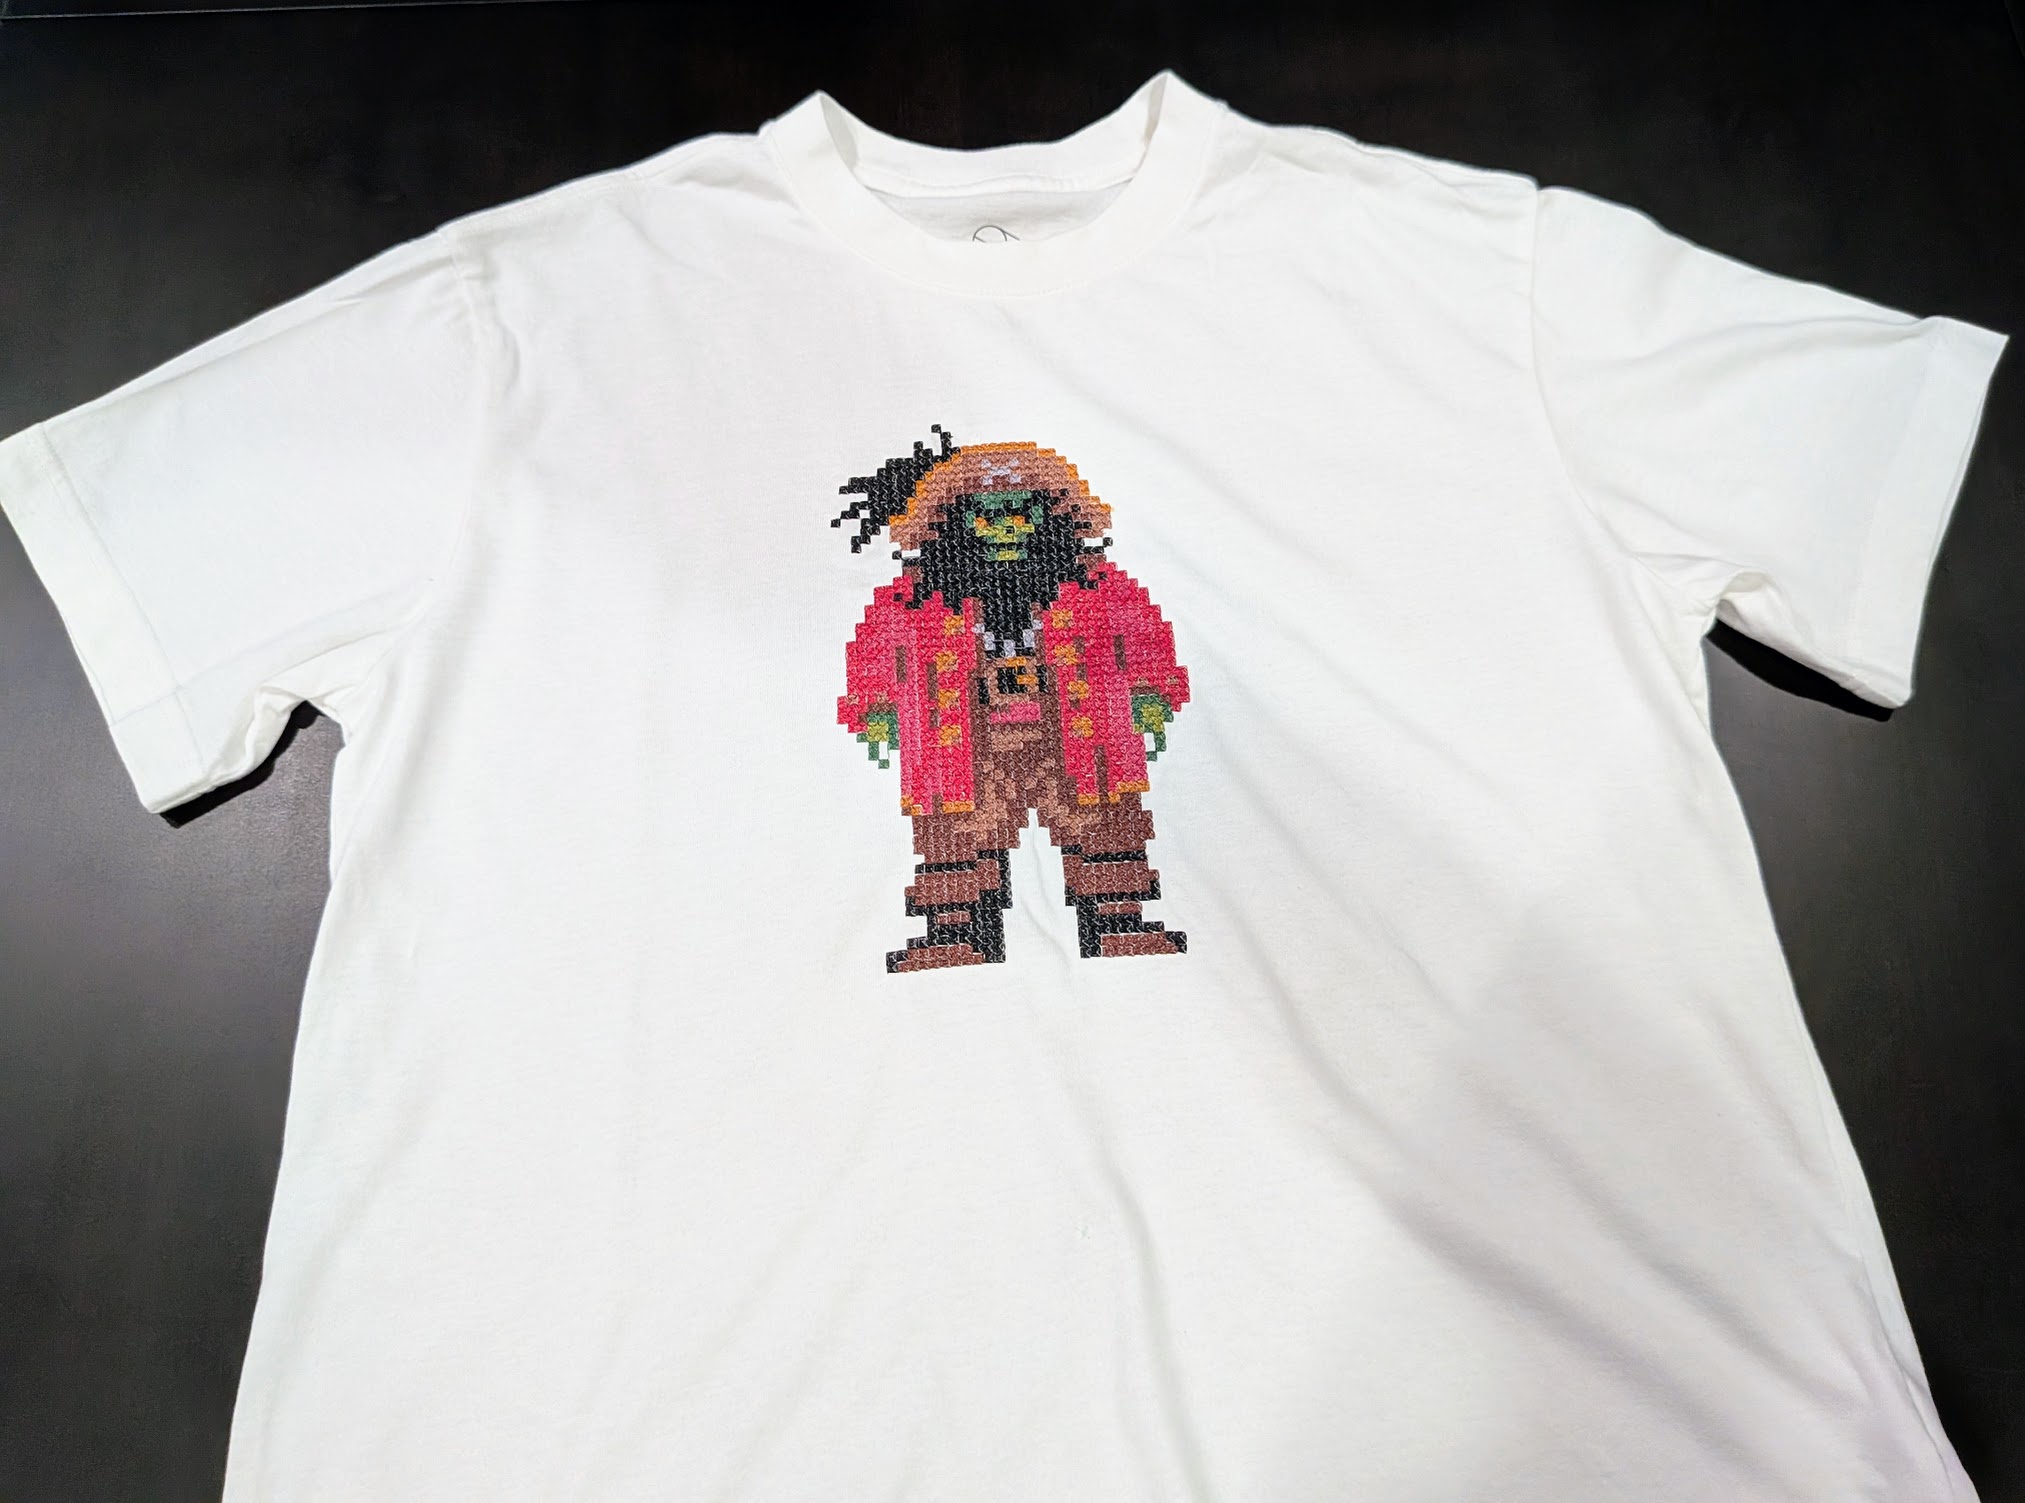
Success!
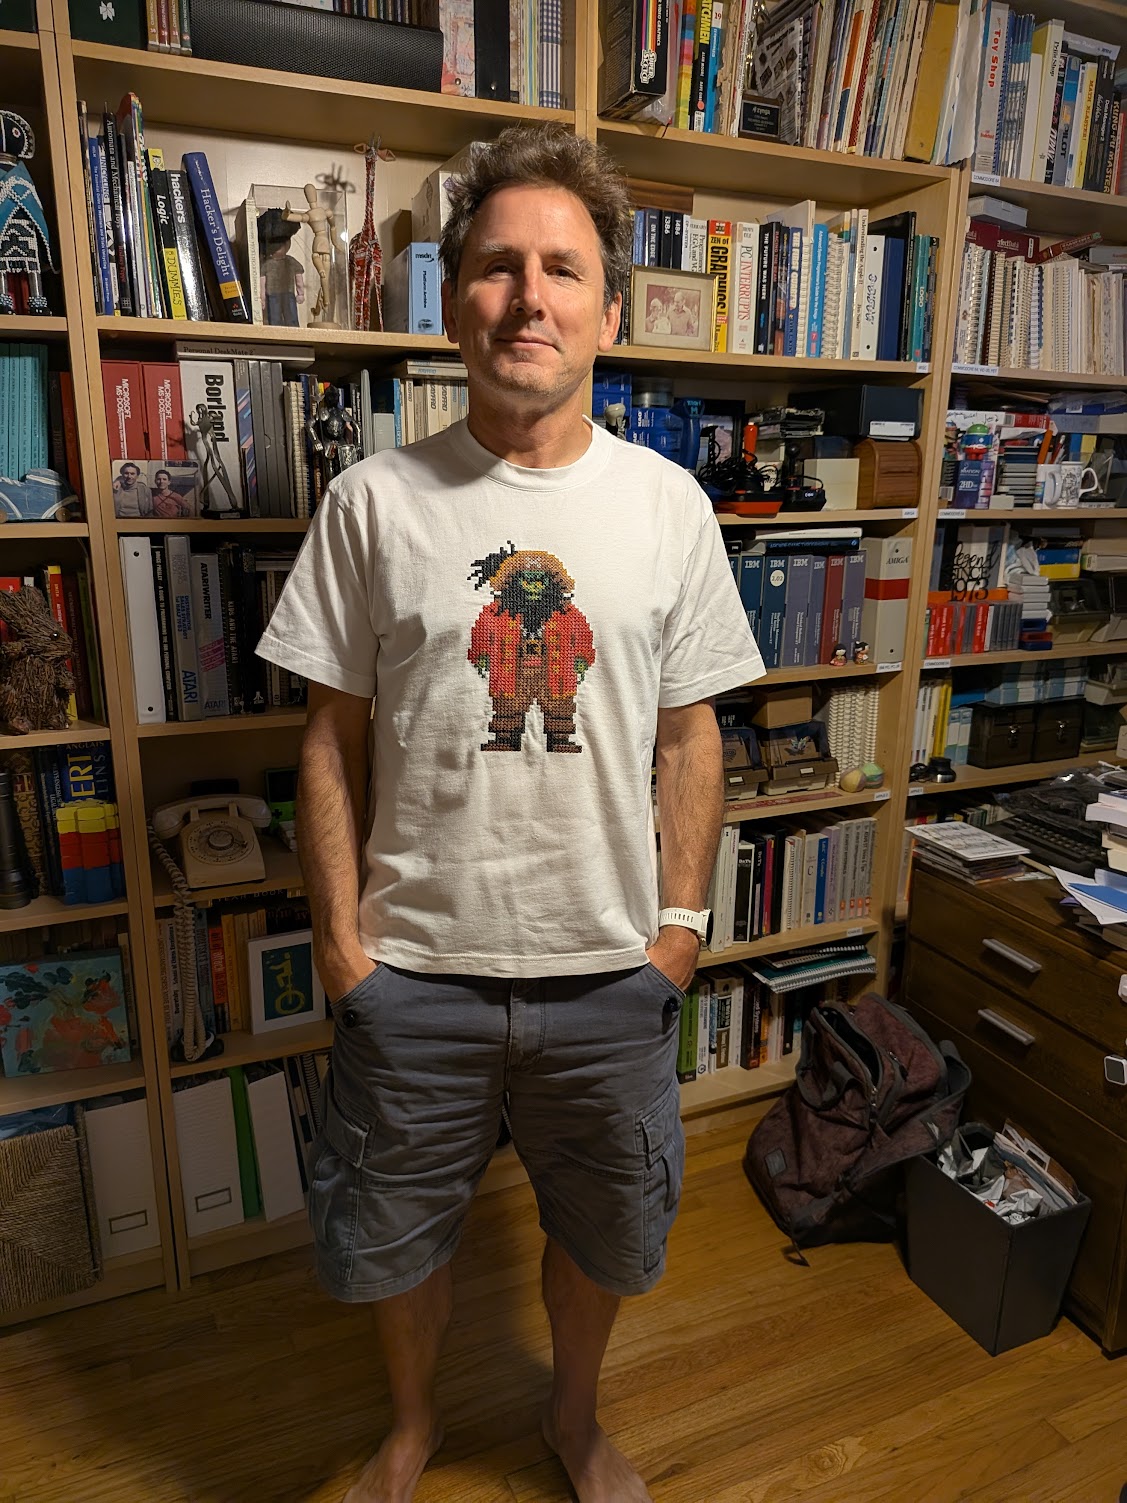
Proudly wearing my newly embroidered t-shirt.
And VCF West was great, as always.
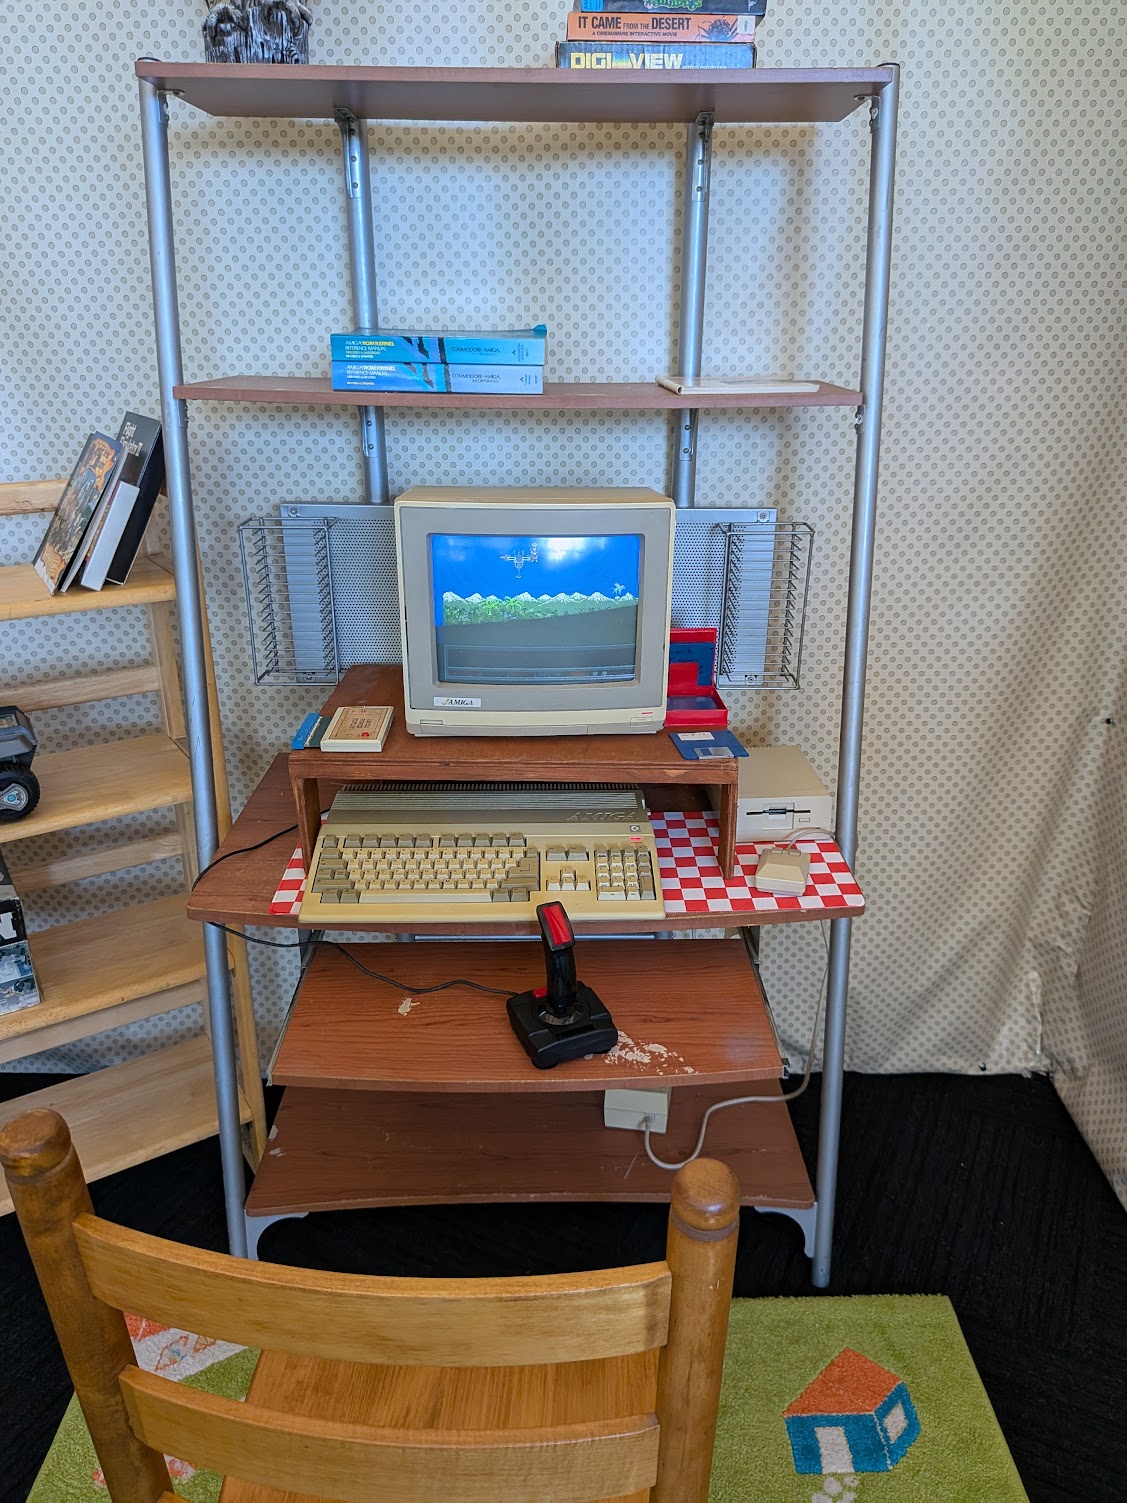
The “My First Amiga” booth at VCF West.
T-shirt stats
- Total Stitches: 50,346
- Unique colors: 9
- Total thread use: 237.3m (top), 118.65m (bobbin)
- Dimensions: 147mm x 247.8mm
This post is 100% AI-free.