Long story short, about 6 months ago I started a new hobby: machine-embroidery. Since then, I’ve been experimenting with machine-embroidery pixel-art.
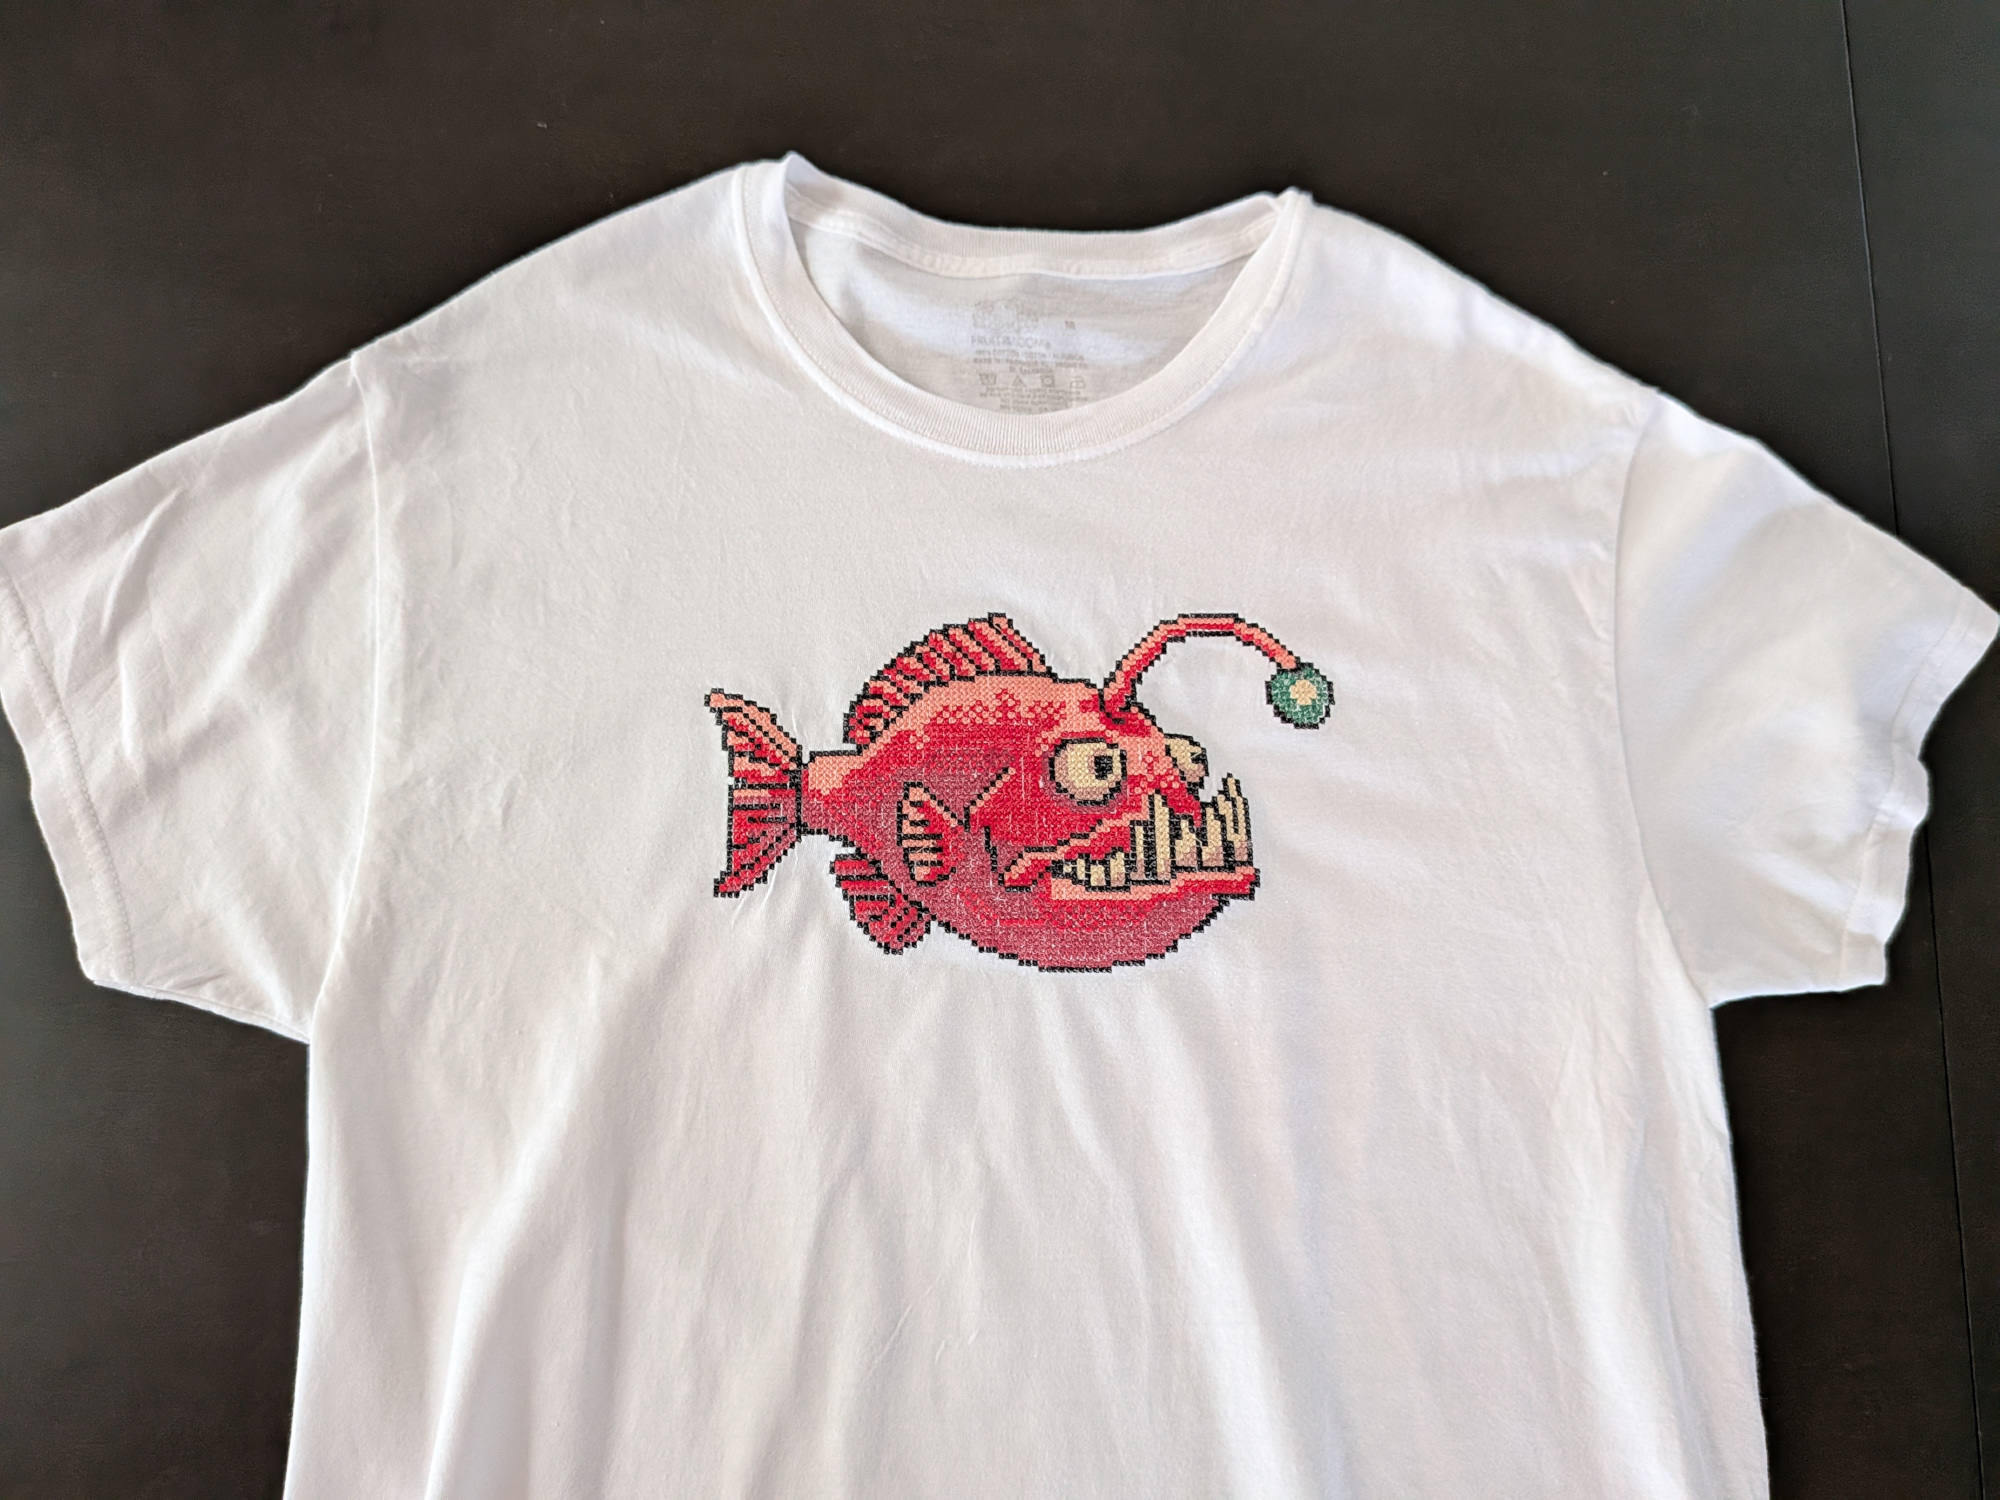
The Angler Fish is my 18th machine-embroidery pixel-art work.
In a future post, I’ll describe in more detail how it’s been done. In the meantime, here is the summary:
The design consists of:
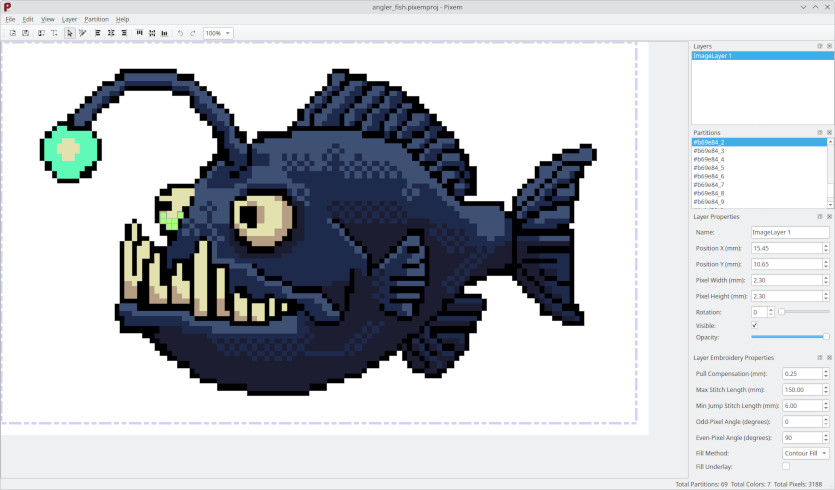
- 3188 pixels
- 64,804 stitches
- Size: 223.1 x 131.1 mm (~8.78 x 5.16 in)
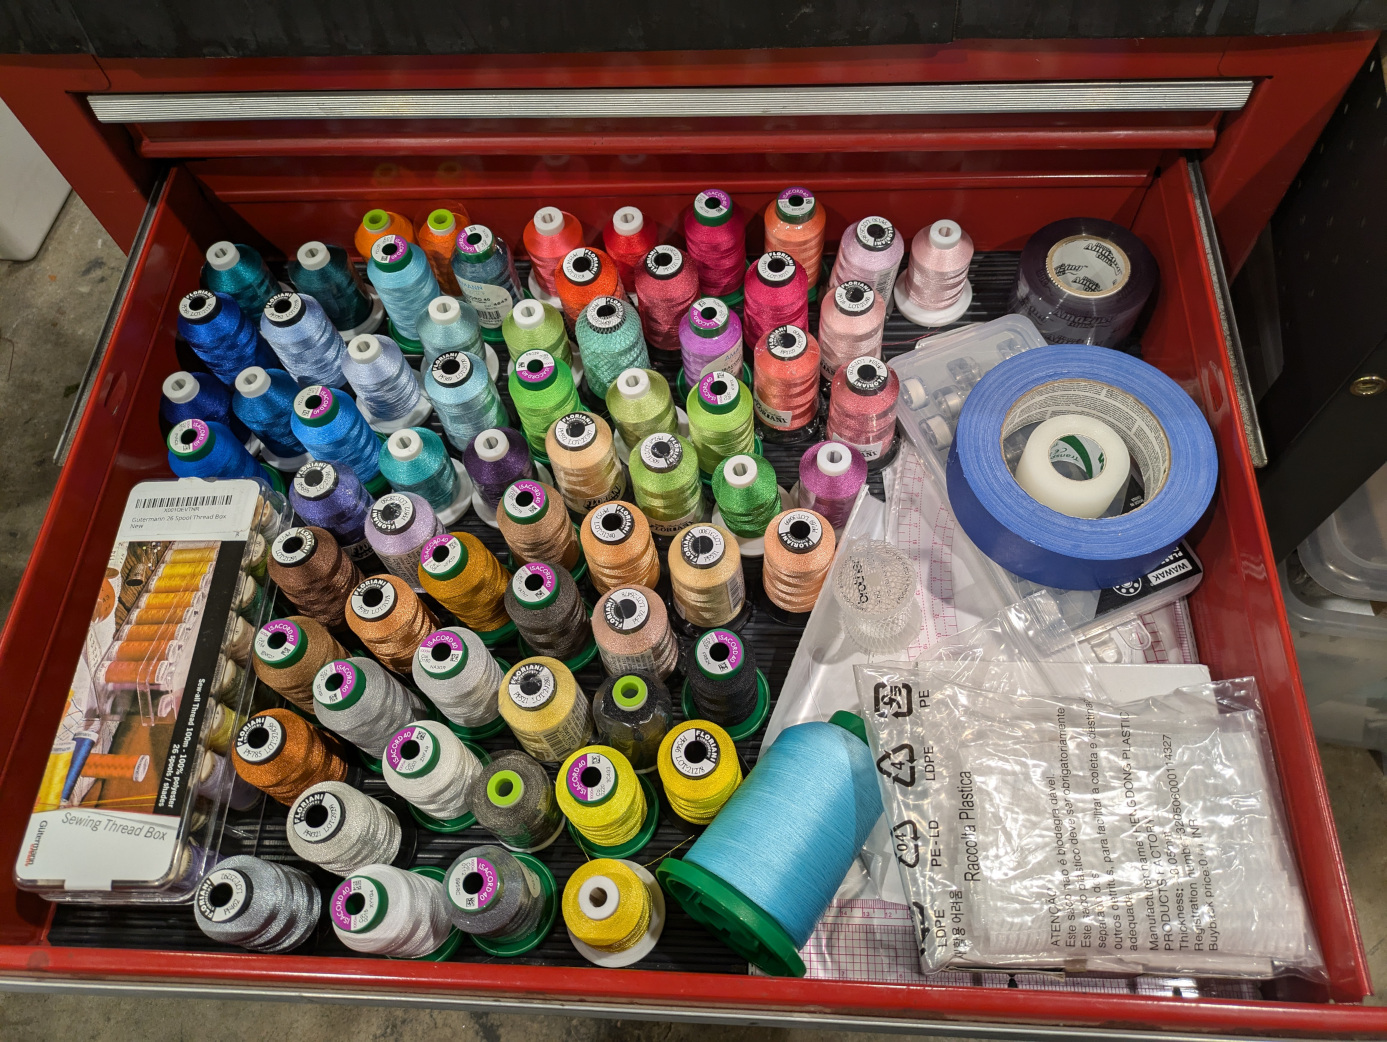
- Seven colors: six polyester threads, one metallic thread
- 1 blinking LED running on Lilypad Arduino board
- End-to-end total time: ~7 hours
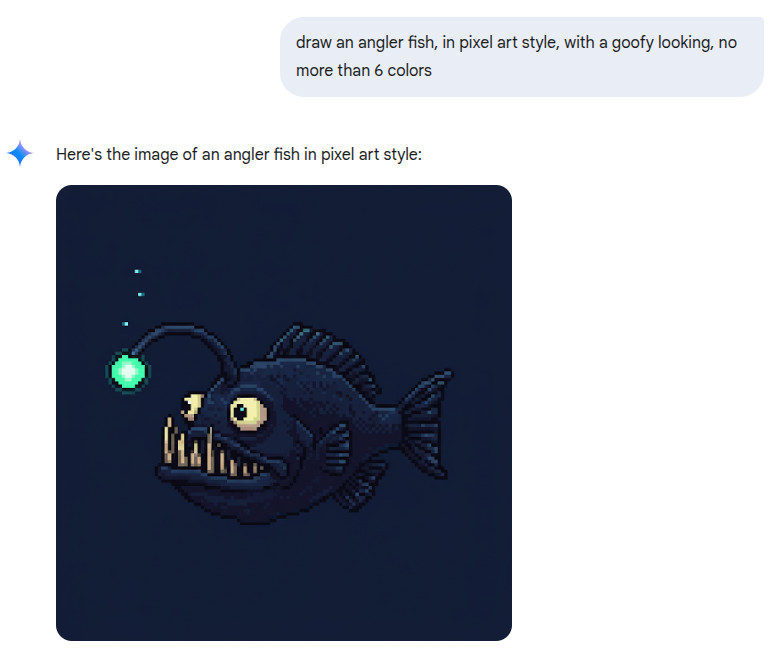
Image using Gemini
I created the image using Gemini. Here is the Gemini session: https://g.co/gemini/share/13f7ace8b76b
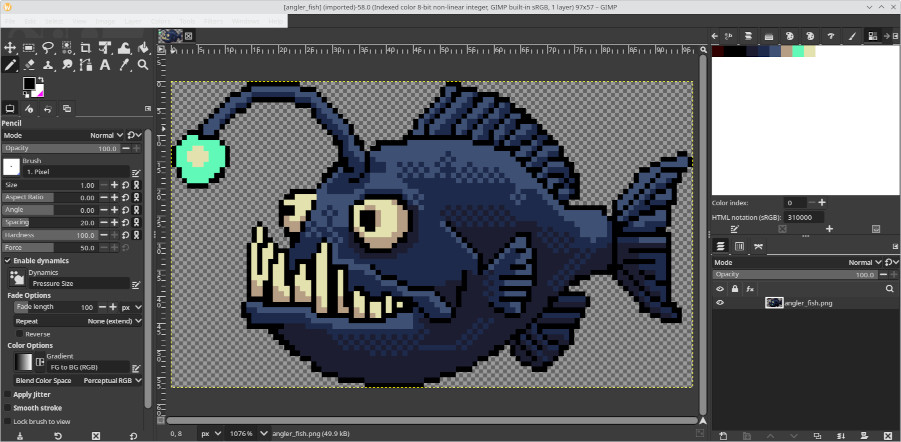
GIMP to simplify the image
With GIMP, I did the following:
- I scaled it down so that each “pixel” actually is a pixel.
- I converted the image to “indexed colors” to reduce the colors.
- I manually simplified the image: replaced pixels to make it look easier to embroider. Gradients are simpler.
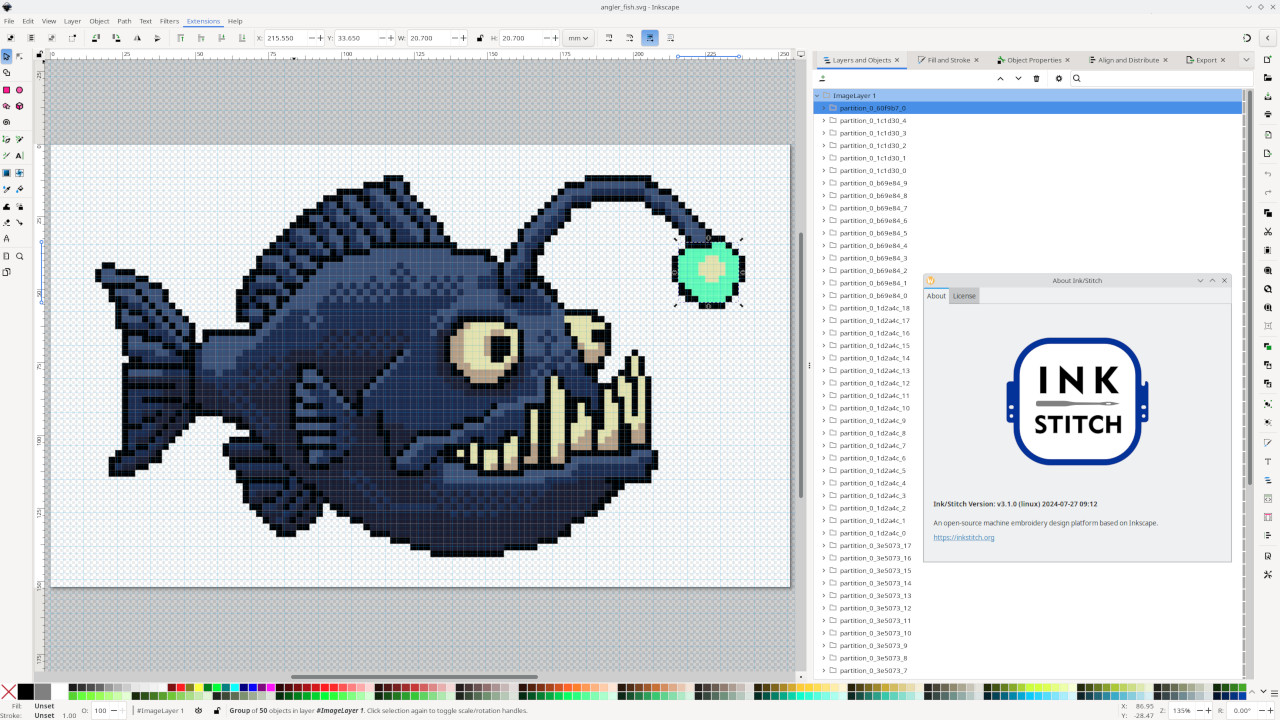
Pixem to create the embroidery path
I created my own editor, Pixem, to trace the path for the embroidery machine. This is to reduce the number of jump stitches, among other things.
My editor exports to SVG, which Inkscape can load.
BTW, I’ll release my editor once it is stable enough, in a few months, probably.
Ink/Stitch to generate embroidery files
I used Ink/Stitch, which is an Inkscape plugin, to generate the PES file.
And I also flipped the image horizontally, since I wanted the LED to be on the left side of the t-shirt.
BTW, PES is the file format needed for my Brother embroidery machine.
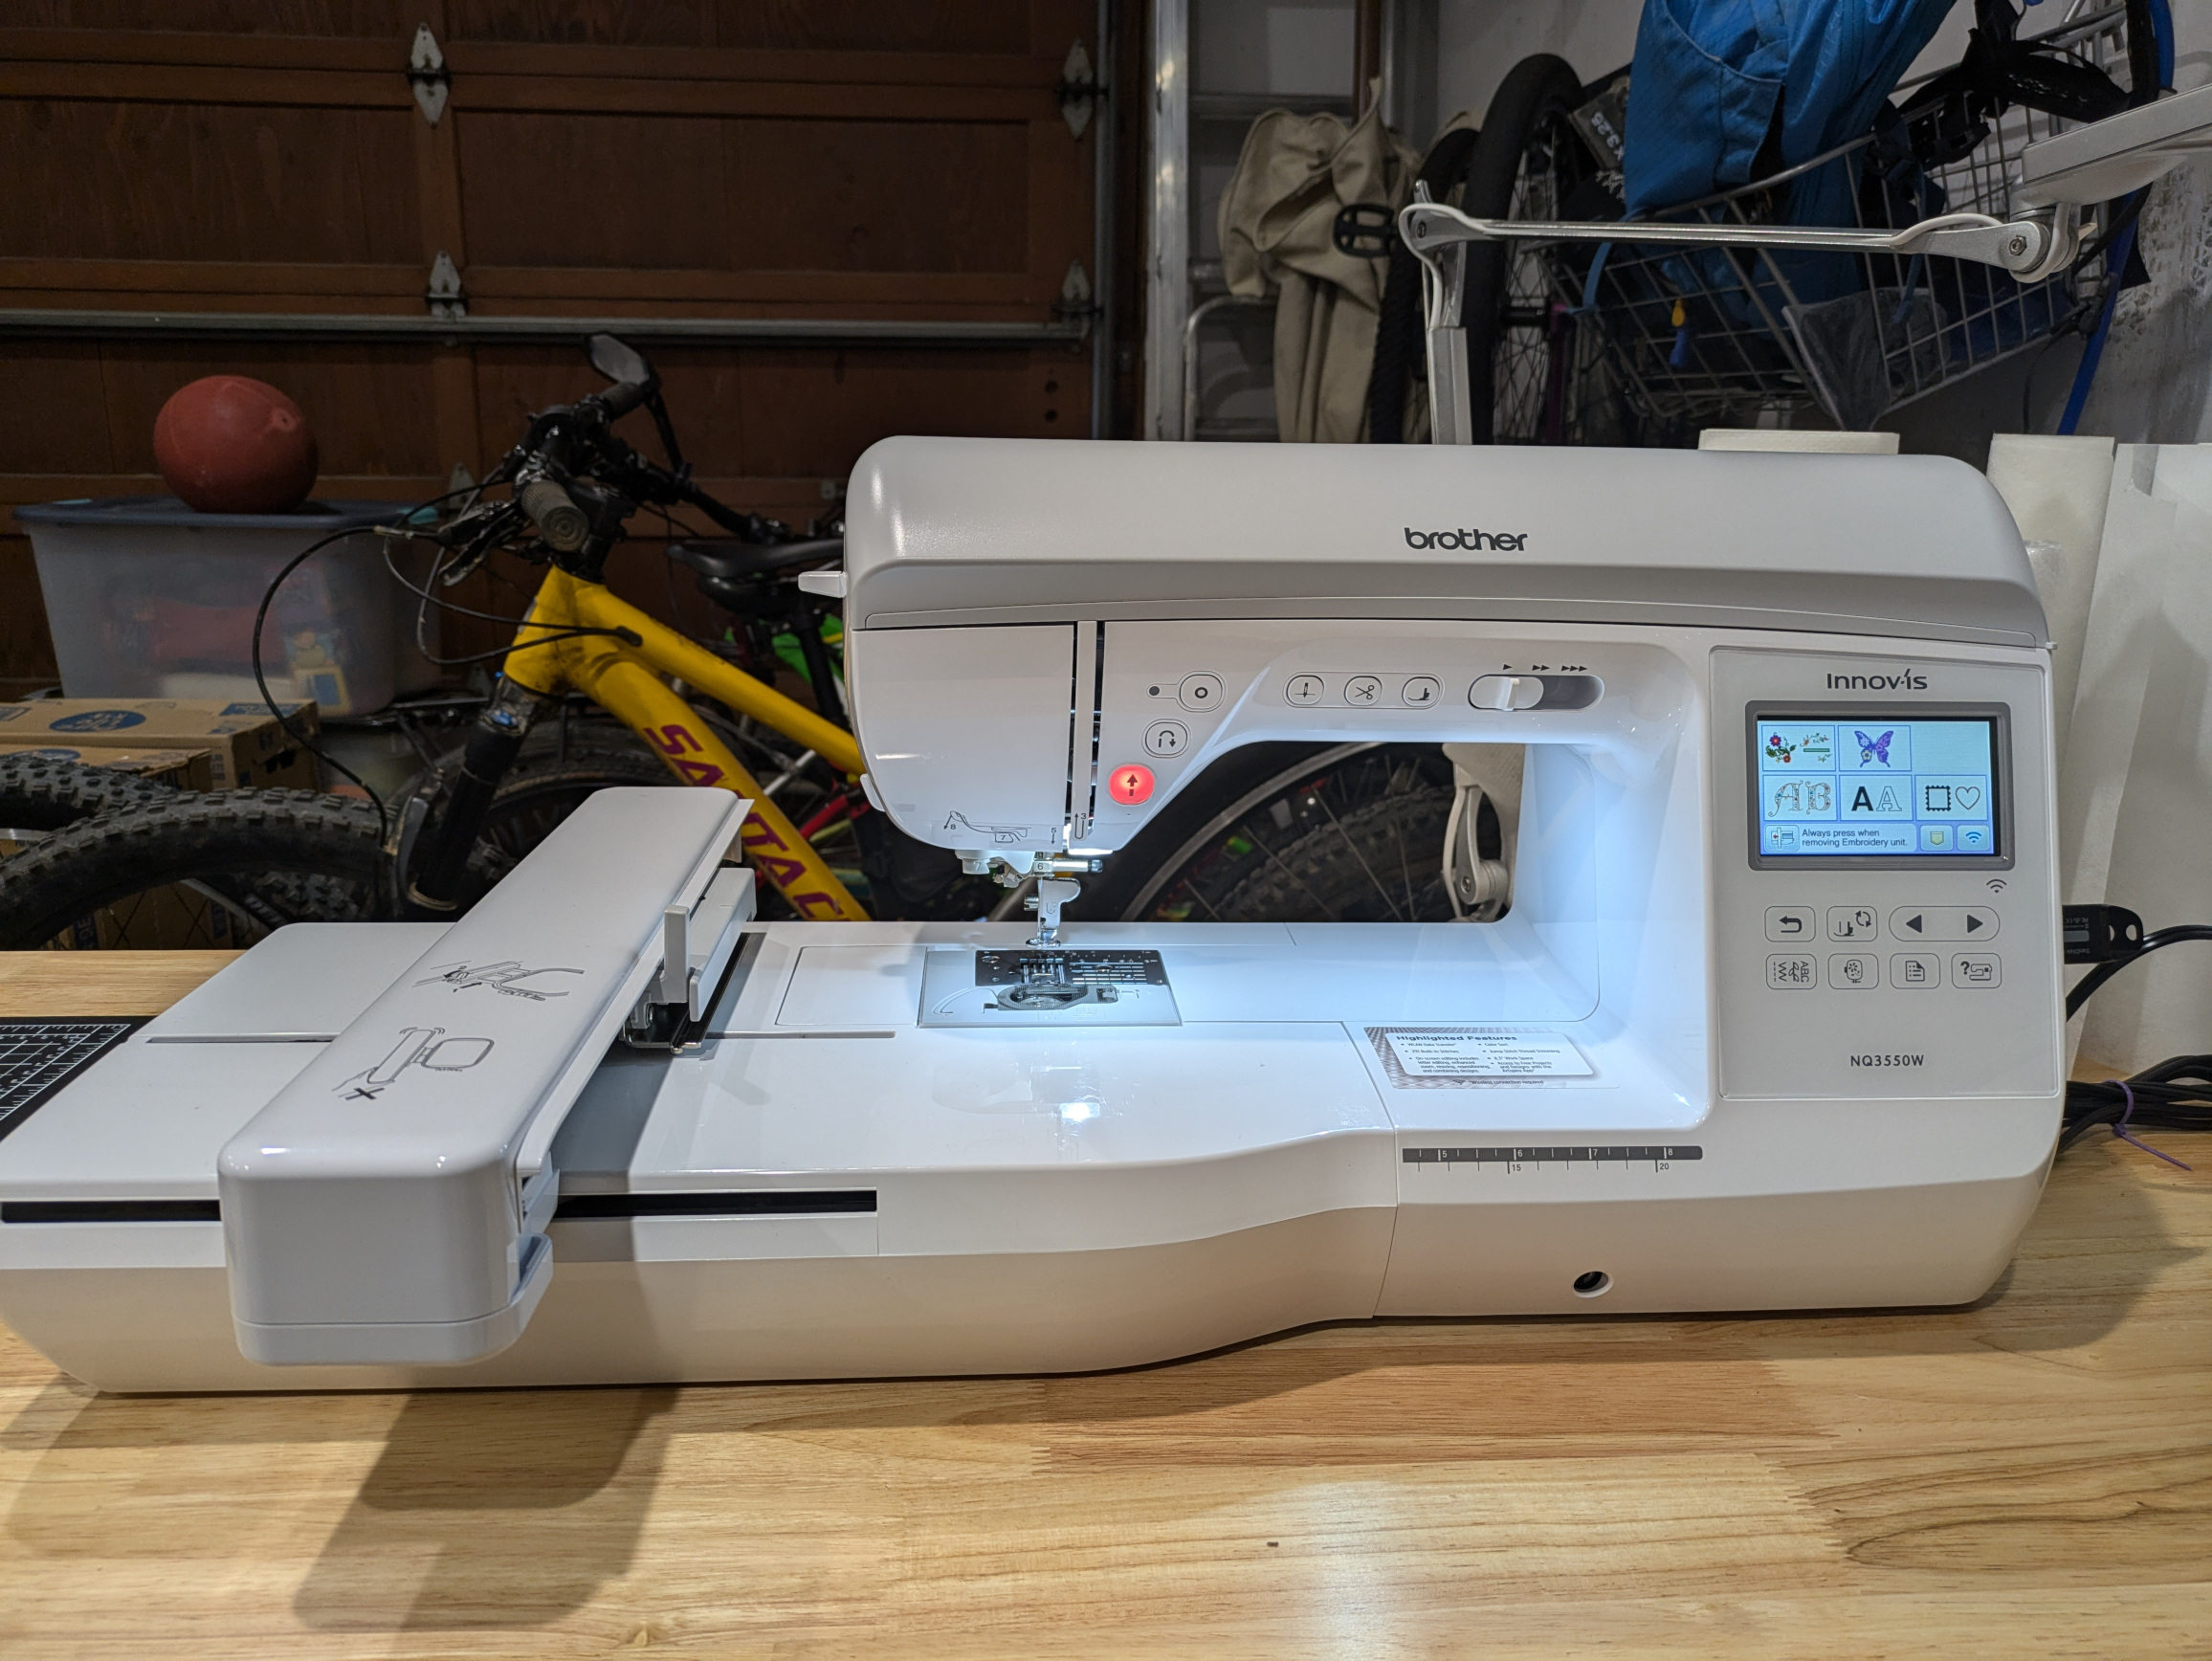
Brother NQ3550W to embroider the t-shirt
I used a Brother NQ3550W to do the embroidery. I bought it about ~6 months ago, and so far so good.
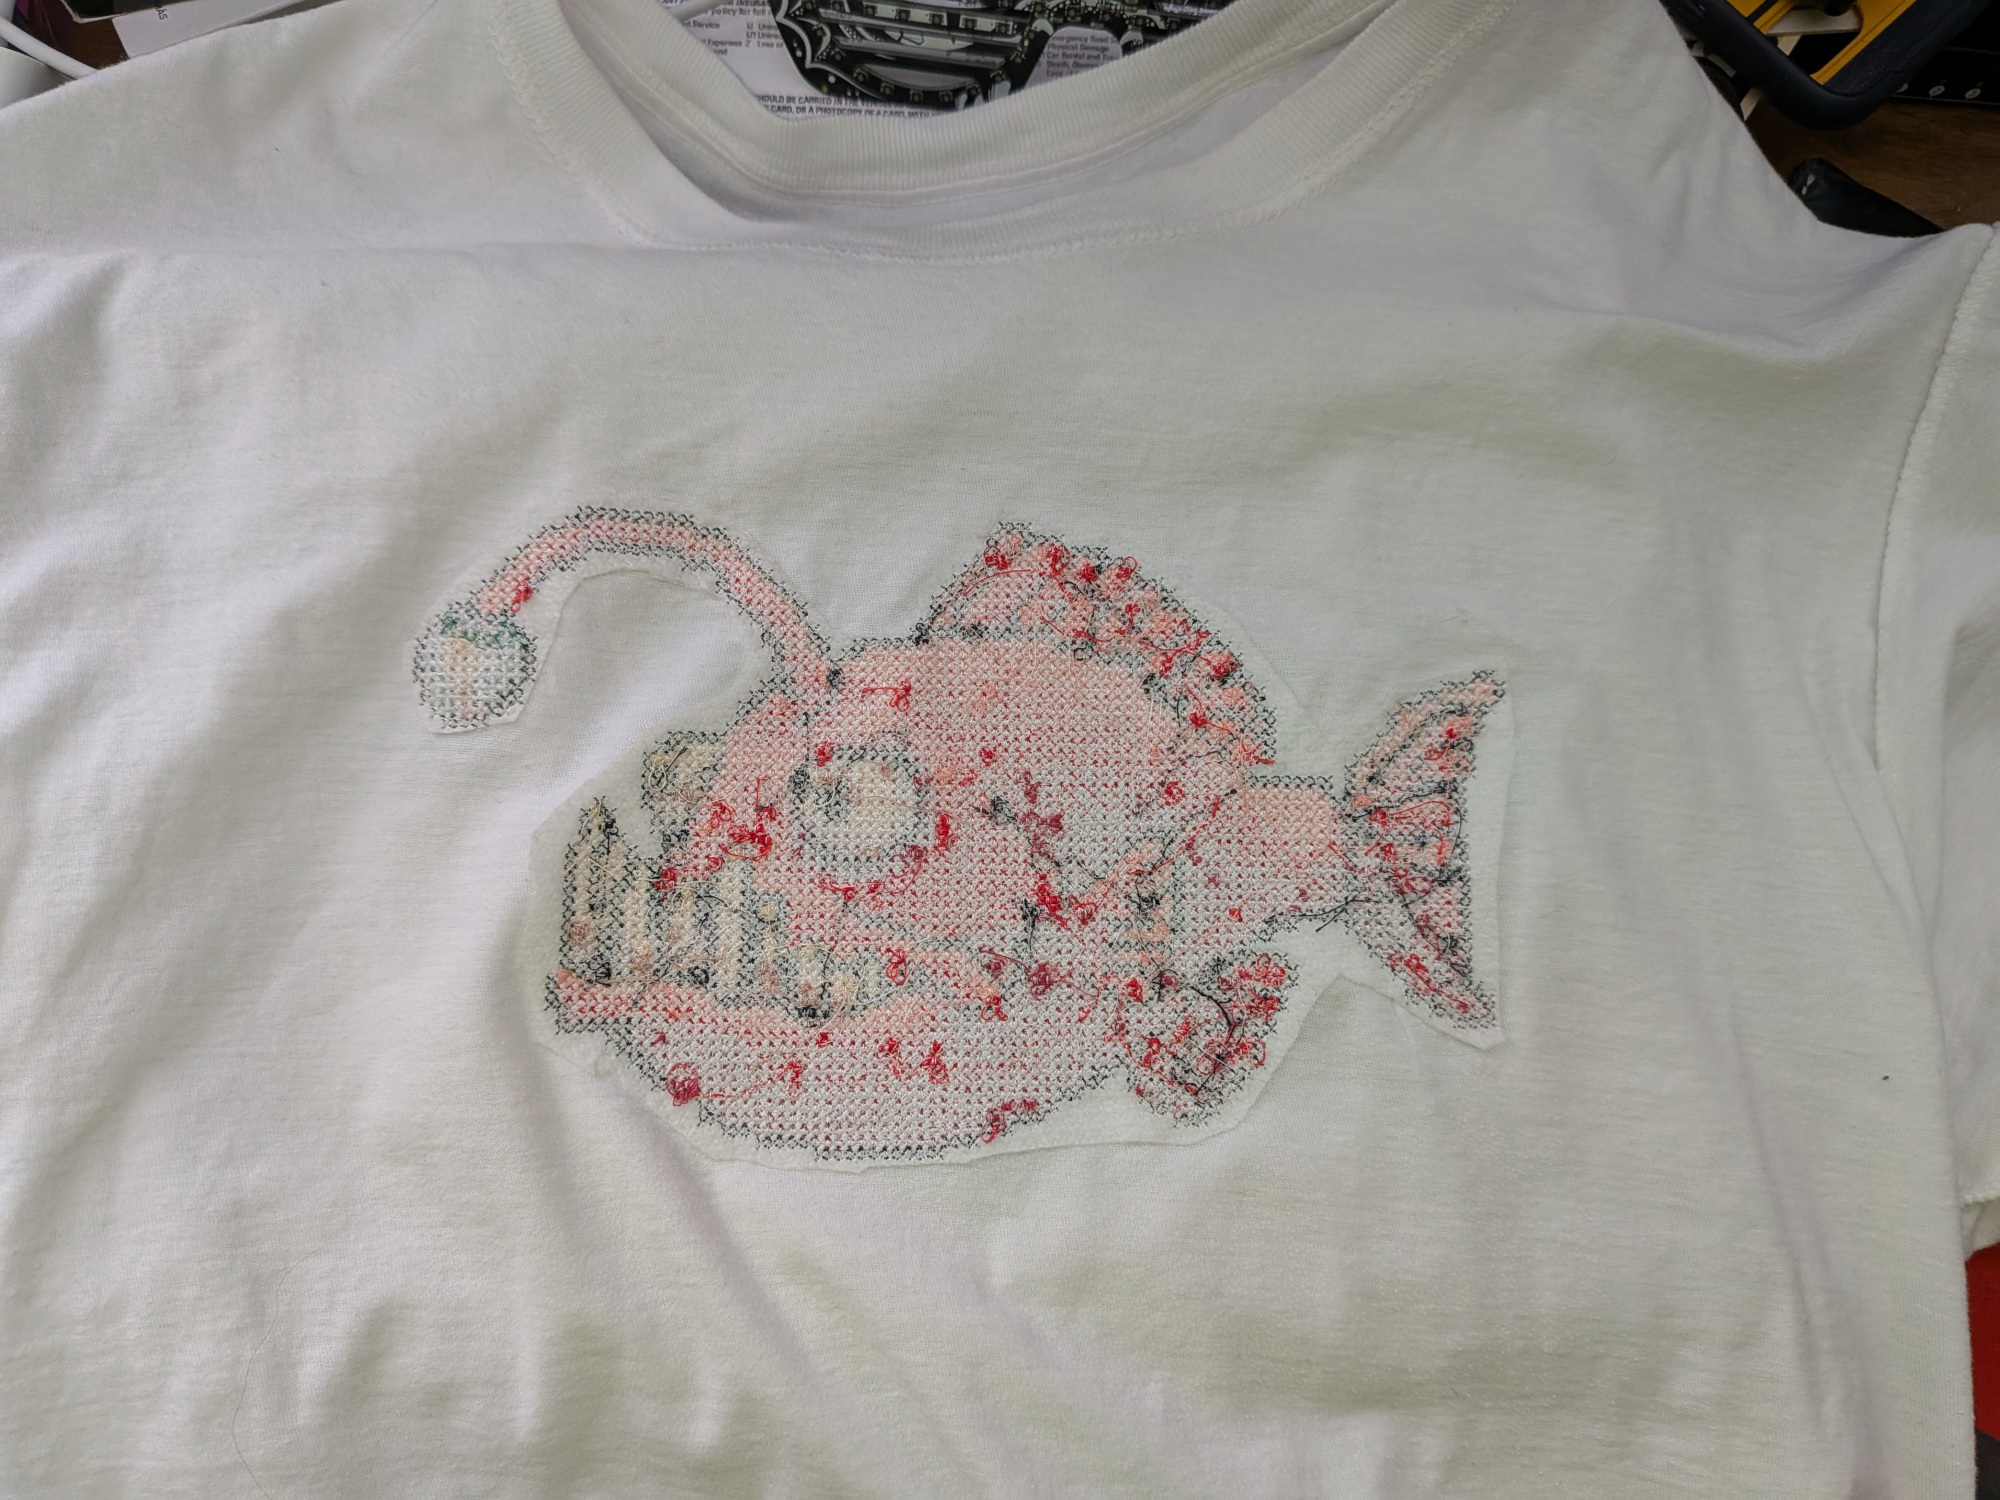
I used two fusible iron no-show-mesh cut-away stabilizers. And I used a water-soluble embroidery topping to make the pixels look better.
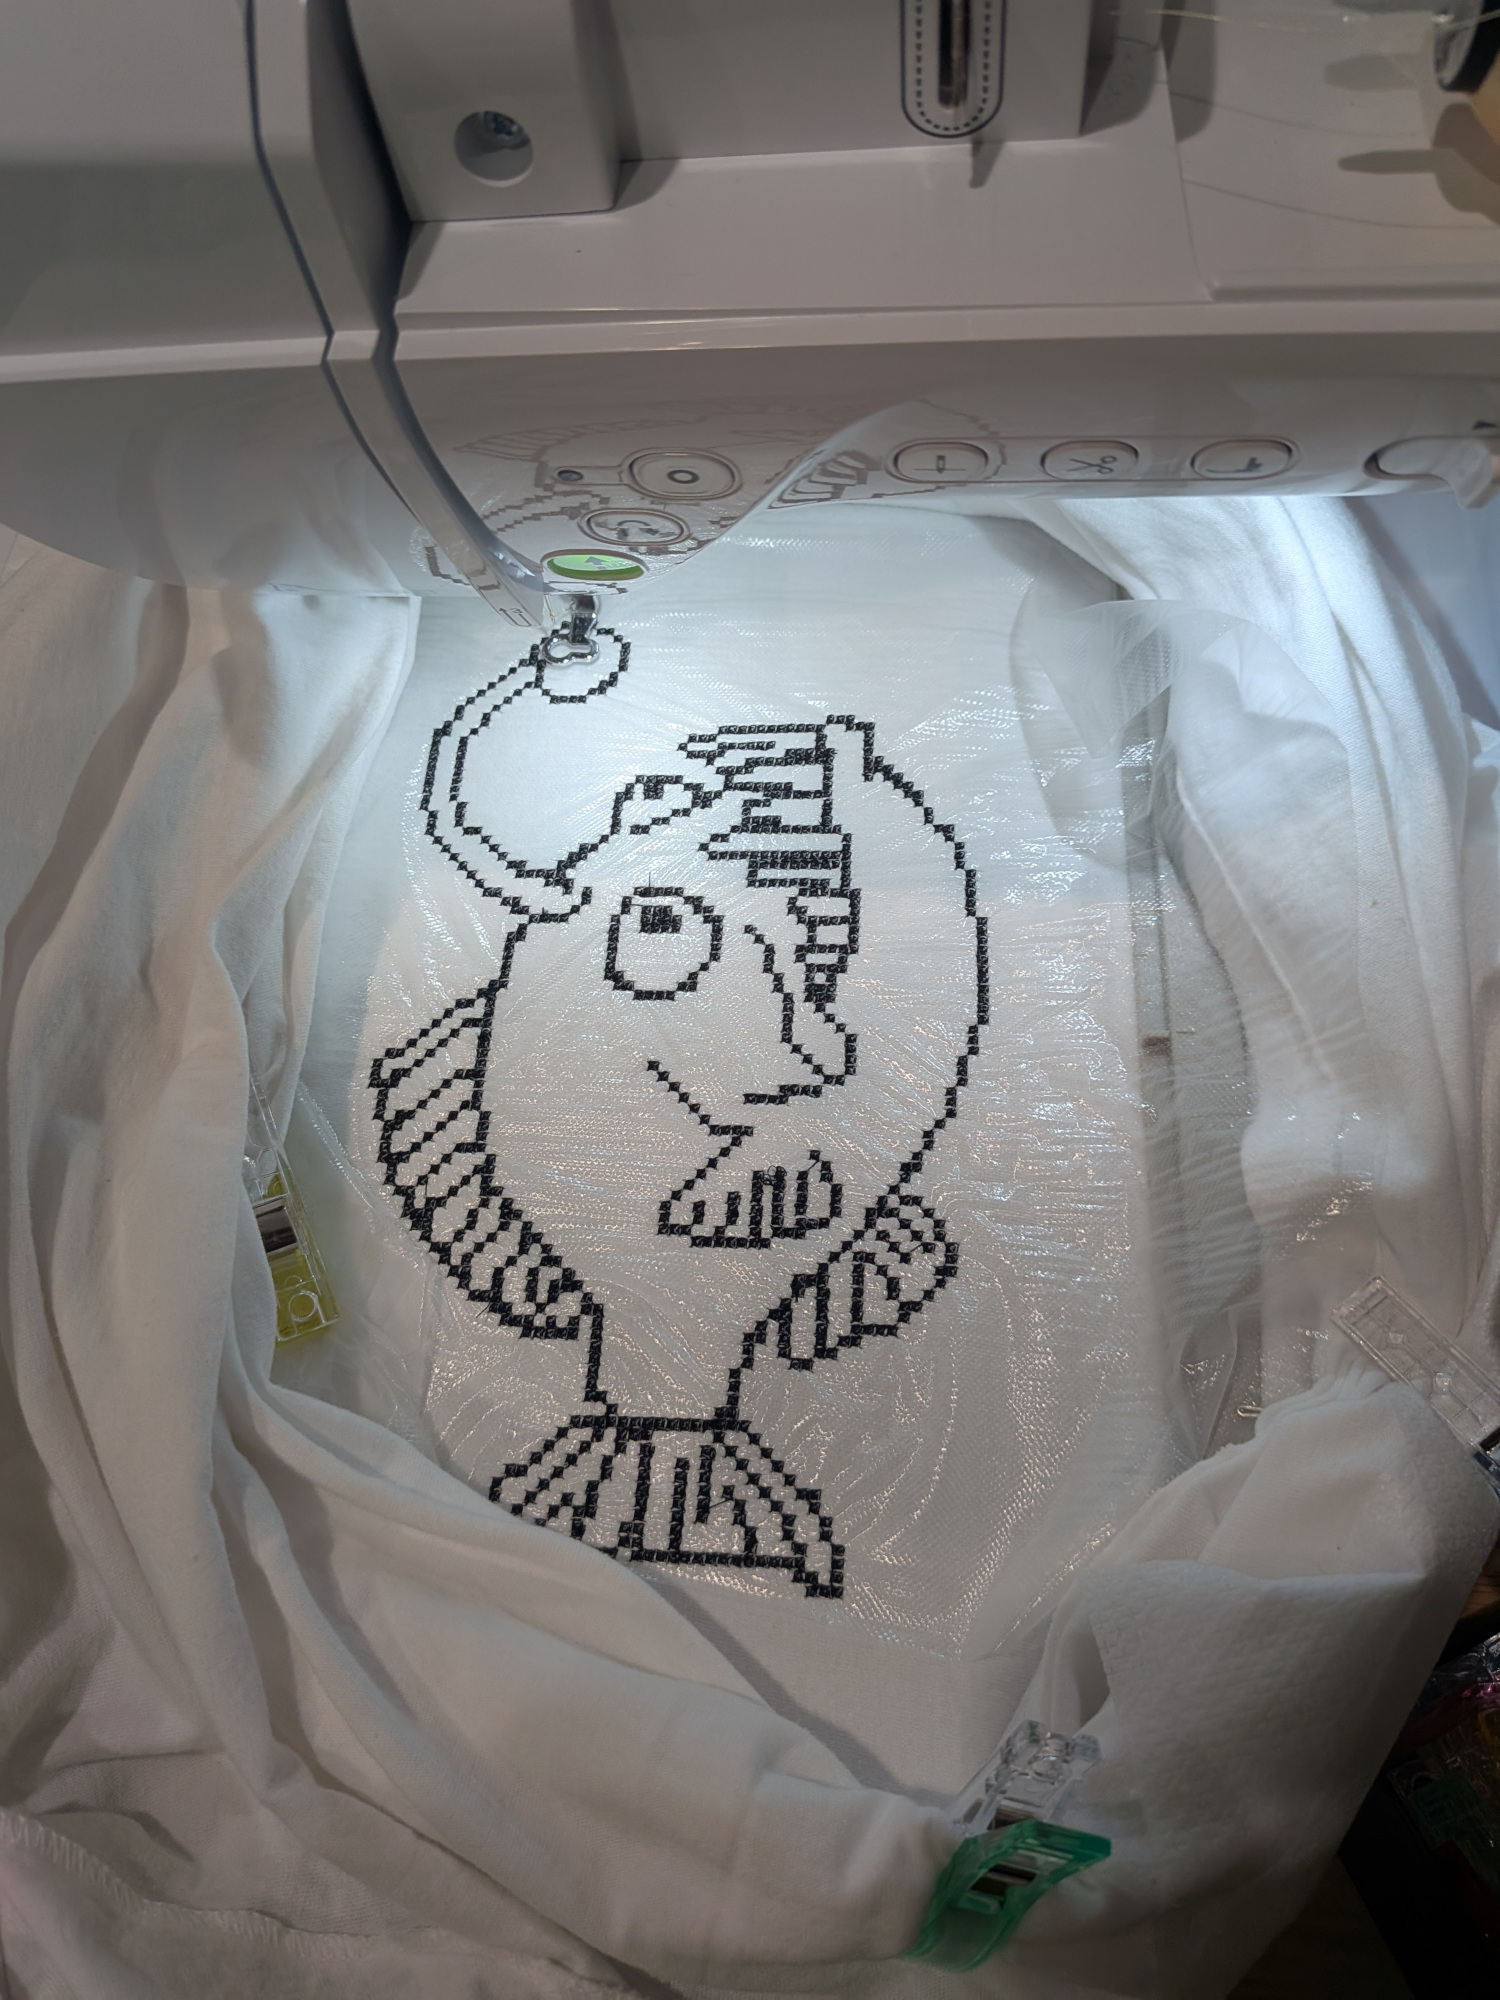
I also changed the palette. Instead of using blue threads, I used red ones. To make the gradient look good, it is important to choose the correct colors.
Cut away stabilizer
Carefully cut away the stabilizers, as close to the design as possible.
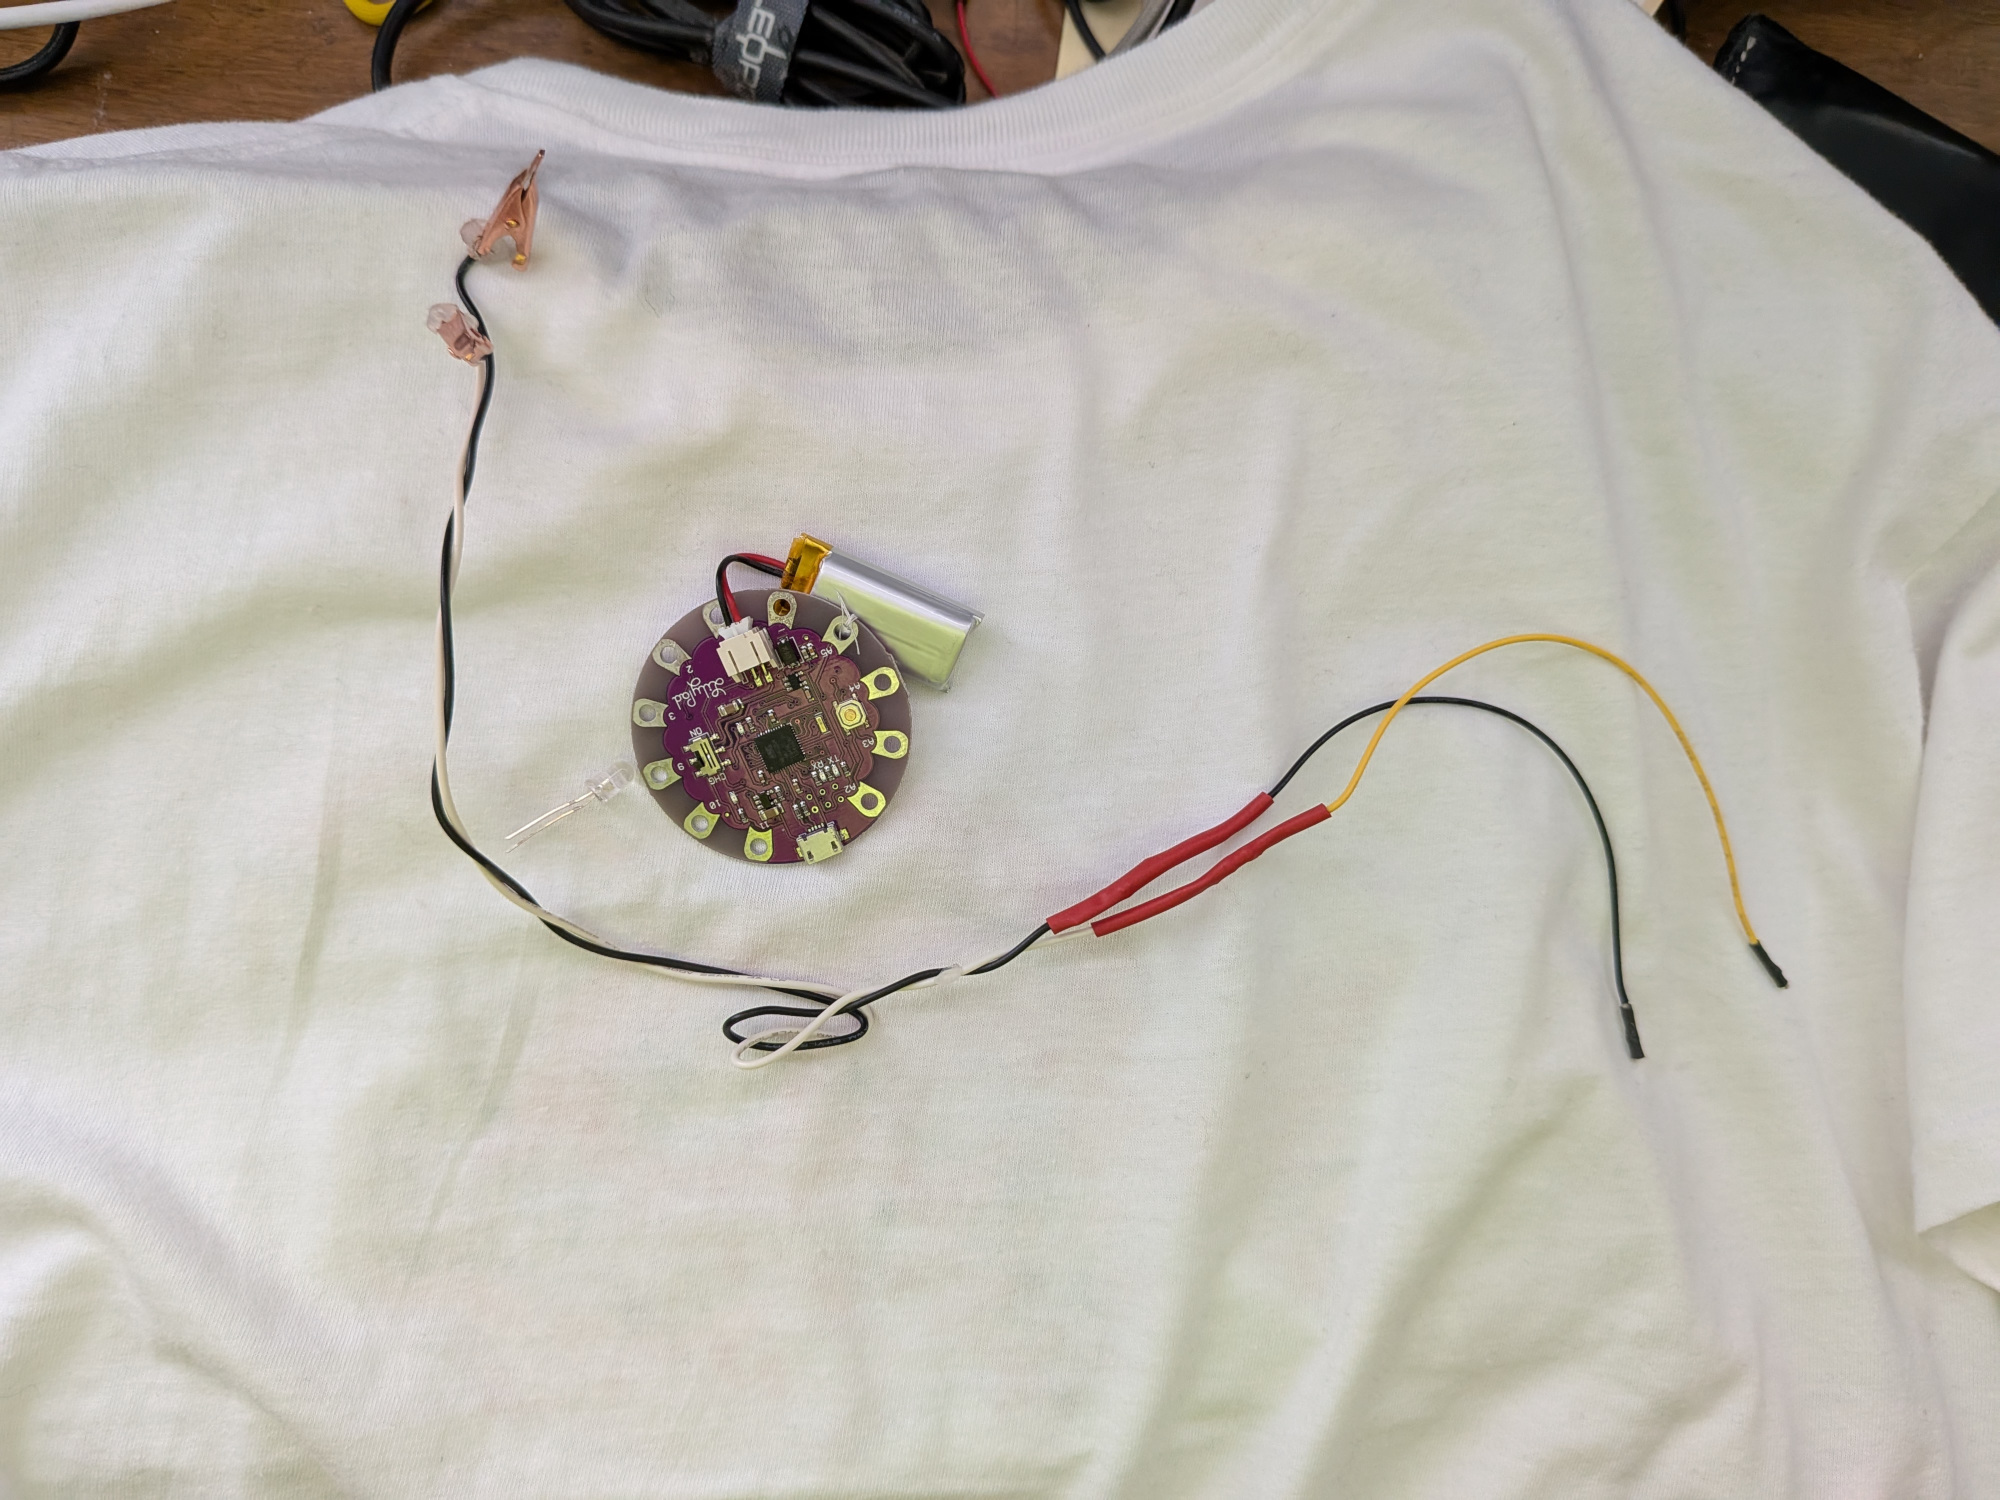
Blinking the LED
I used a Lilypad Arduino board as the microcontroller. Which I manually sewed it at the back of the t-shirt.
I used a regular blinking Arduino sketch.
And I created some ad-hoc cables to connect the LED with the Lilypad. I had to use hot glue, alligator clips and heat shrink tubes to make the connection stable, and short-circuit free.
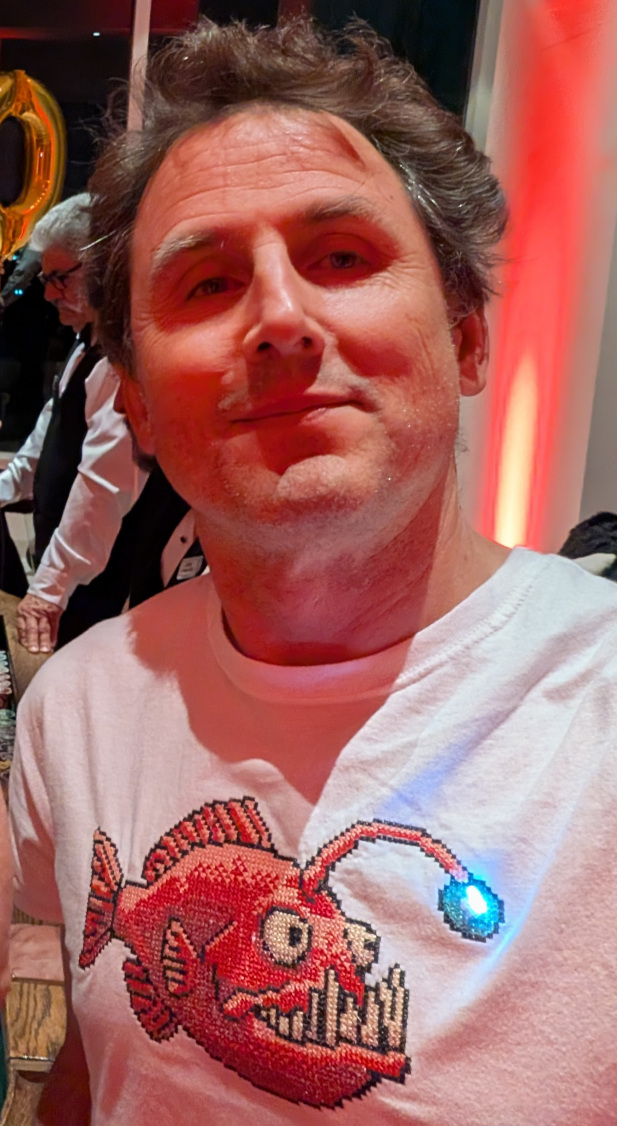
Success!
I wore the t-shirt at a party for ~4 hours: dancing, jumping, playing games. And the LED kept blinking non-stop for the entire night.
And everybody loved the t-shirt :-)
This post is 100% AI-free.