Updated 2018–10–08
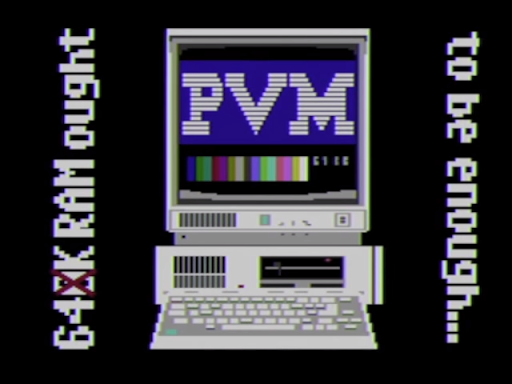
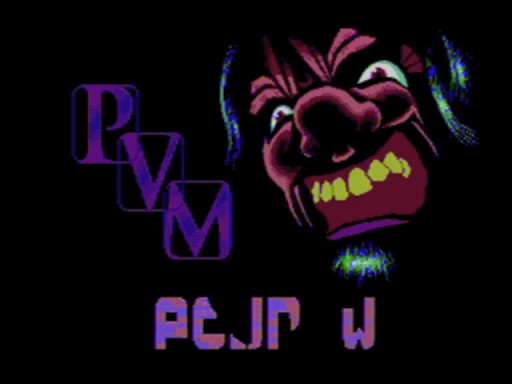
A demo for the IBM PCjr by Pungas de Villa Martelli. It was presented at Flashparty 2018 and won the Demo category.Requirements
An IBM PCjr with at least 64k RAM.
Download
- Source code: https://github.com/ricardoquesada/64k-ought-to-be-enough
- Binary: pvm-64ko.zip (does not run on emulators)
Technical description
The demo is divided in the boot loader and demo 3 parts
Boot loader
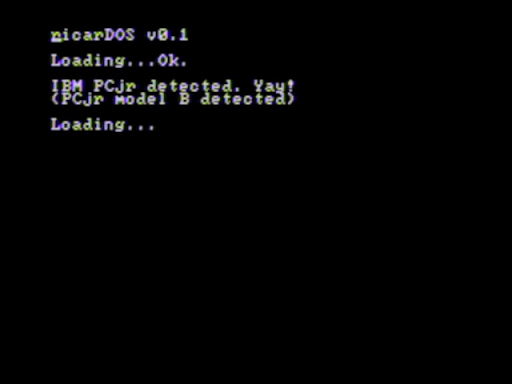
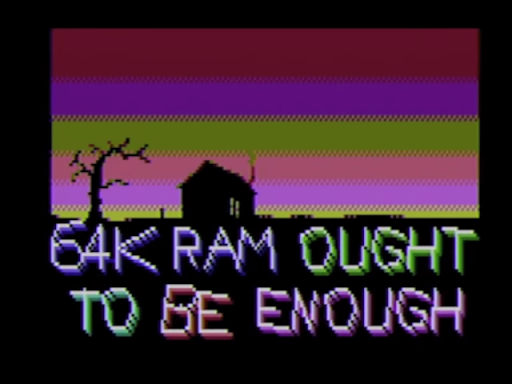
The demo is intended to work with a 64K RAM (or more) PCjr. Booting from its own boot loader is needed to save precious memory. DOS alone takes ~20K of RAM. That is 30% of the total memory. You don’t want to waste that memory.
The boot loader is pretty simple:
It has a list of sectors-to-load for each part. Each part is loaded starting at
0050:0100address (which is the same as0060:0000) and after loading it, jumps to that address.Installs
ricarDOS, a mini “DOS” that hooks the0x21interrupt handler with:ah==0x4c:- in
ricarDOSit terminates current scene and loads the next one. - in real DOS it terminates the current DOS program.
- in
ah==0x09: prints a$-terminated string
ricarDOS was created to have a “rapid testing framework”. It allows to run
each part on an emulator using real DOS, but when run from the bootloader, the
actual DOS calls are trapped to ricarDOS.
The memory is organized like this:
Part I
Big Fonts
The big fonts are based on Andrew Glassner’s Notebook. Basically the rectangle to draw each font is divided in 55 segments. Think of the typical 8-segment display, but instead of 8, it has 55 segments. With 55 segments you can render pretty nice fonts. Specially if they are designed by Andrew Glassner.

So we created 110 (55 + 55) primitives:
- 55 primitives to turn on each segment
- and 55 primitives to turn them off
Each letter consists of a 64-bit bitset containing the 55 segments.
The bitset for letter A is:
;ASCII: 0x41
table_a:
 dw 0b1110010011101110,0b1111111101000101,0b1000111111111111,0b0000000000000111
And this one is for letter B:
;ASCII: 0x42
table_b:
 dw 0b1010010011101111,0b0111111011111100,0b1111110001111111,0b0000000001111011
Notice that A and B have many segments in common. If letter B should be
drawn right after letter A, then only the “diff” between A and B needs to
be drawn.
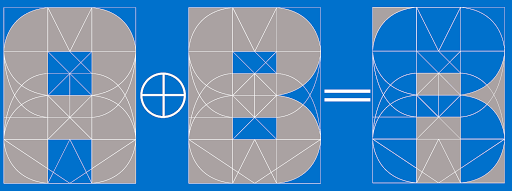
And the diff between A and B is just a simple xor between A’s bitset and
B’s bitset.
0 are skipped (it means that the segemnts are the same), while 1 are
processed. The segment is turned on or off accordingly. For A xor B only 18
segments needs to be updated, instead of 55.
And that’s it.
Misc:
- Aresluna editor was used to get the definition of each letter.
- We used a custom script to automatically generate all the 110 primitives and bitsets.
Graphic Loading
The Big Font uses the 320 x 200 @ 4 colors video mode. 16K RAM needed is needed for it. So, from the 64000 bytes reserved for the scene, 16k will be used for the video mode. That leaves 47616 bytes free for the code.
And the code to render the big fonts takes ~47000 bytes, with only a few hundred bytes free.
In order to add an additional 16K graphics, the new graphic was appended after the Big Font code (with some padding).
So when the part1.com file is loaded, the graphic will be loaded right where
the video card expects it. And it will be displayed automatically.
Part II
From a technical point of view, nothing interesting really happens in Part II. It is just a simple horizontal scroll that consumes almost all the CPU cycles.
Note: Additional effects were planned for this part, but we didn’t have the time.
It uses a 320x200 @ 16 colors video mode. In order to enable this video mode in a 64k-only PCjr you have to do:
sub   ax,ax
mov   ds,ax              ;ds = 0
mov   word [0x0415],128  ;make BIOS set_video_modo believe that we
                         ; have at least 128K RAM, otherwise it won't let
                         ; us set video mode 9
Bug: the graphic won’t look that good on 64k-only PCjr. We tested this idea about 2 months before the deadline with a random graphic, and it looked Ok. So we thought it was possible to use 32k video modes on the 64k-only PCjr. But one day before the release we noticed that the graphic didn’t look that good. And unfortunately we couldn’t fix it yet. Not sure whether this is a hardware limitation (it shouldn’t be, in theory), or not. We’ll try to fix this soon.
Part III


Note: Originally, we wanted to add some 3d effects in Part III. But after doing some performance tests with basic 2D polygons, we decided it was not worth it. The PCjr was too slow for what we wanted to do. We reused part of that code for the Vector Fonts.
Vector fonts
By vector font we mean a letter that is defined by one or more polygons. I’m
using a primitive to draw a line called
Line08_Draw ( code based on Richard Wilton book).
On top of that we implemented a draw_poly function. And each letter is defined
by a list of polygons.
The benefits of vector fonts, it is to scale them up/down & rotate them for free, without losing precision.
The fonts are defined using polar coordinates ( radius + angle); not the
more common cartesian coordinates ( x + y). This is legacy code from my
2d-polygon experiment. Using polar coordinates + lookup table is a nice and fast
way to rotate polygons. But in retrospective, kind of overkill for Part III.
Render buffer
Mode 160x100 @ 16 colors ( Trixter’s variation) is being used for the vector font part. And the bottom 40 rows are reserved for the fonts. That’s a total of 3200 bytes (160*40/2). We are using an additional 3200-bytes buffer (a render buffer) where the text is pre-rendered. Then the render buffer is copied row by row, one at the time, to the video buffer. The video buffer is scrolled up or down (depending on the effect). And that is basically it.
Easter Egg
The final part is pure PCjr BIOS code.
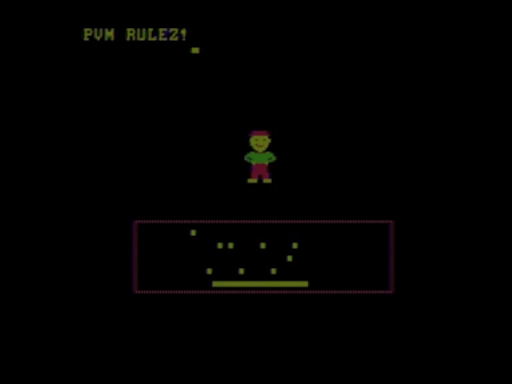
- Populate the keyboard buffer with “PVM RULEZ!”
- Put sprite data in the correct place
- Initialize some video variables
- …and jump to the correct place in BIOS.
The sprite data needs to be placed at 0060:0000, the same space used for the
demo, so extra careful was needed to not overwrite our own init_easter_egg
routine.
Misc
All the “official” PCjr video modes were used in this demo, without any repetition.
- Boot loader: 40x25, 80x25 (when PCjr is not detected)
- Part I: 160x200 @ 16, 320x200 @ 4
- Part II: 320x200 @ 16
- Part III: 160x100 @ 16, 640x200 @ 4, 640x200 @ 2
Embarrassing bug
The demo is all about the 64k-RAM PCjr. The embarrassing part is that some graphics don’t look Ok with the 64k-RAM PCjr. The high-density video mode(80x25 text, 320x200 @ 16 colors and 640x200 @ 4 colors) are disabled in the 64K-RAM PCjr for a good reason: the PCjr can’t display them, at least, in theory.
Two months before the deadline, we did a test on a 64k-RAM PCjr, and the 320x200 @ 16 colors video mode looked correct… only because we tested with a single color graphic. We painted the screen with one color, and it looked fine.
But one day before the deadline, while we were testing a release-candidate on the 64k-RAM PCjr, we noticed that some graphics weren’t looking Ok. We panicked. We couldn’t believe what were seeing. We tried to understand what was happening, but we failed and couldn’t fix the bug.

So we shipped the demo with this embarrassing bug. A few days after the party, and after discussing it in the PCjr forum, we realized that the 64k-RAM PCjr has the following limitations:
The system board 64K RAM is mapped at the bottom of the 1Mb address space. The system board 64Kb RAM is mapped to the next 64K bytes of address space if the the 64Kb Memory and Display Expansion option is not installed.
When inserted, the memory expansion option uses the ODD memory space, while the system memory space is decoded as the EVEN memory. Thus, when used as video memory, the memory expansion option has the video attributes while the on-board system memory has the video characters. This arrangement provides a higher bandwidth of video characters.
In addition to the eight memory modules, the expansion card has logic to do EVEN/ODD address decoding, video data multiplexing and Card Present wrap.
And that explains why the 640x200@4 graphic looked as a monochrome bitmap and the 320x200@16 looked jagged. It is related how these 2 video modes are represented. ( See “ PCjr Technical Reference” Section 2–55 for further details).
We tried to disable the “even/odd” decoder by setting “Mode Control 1”’s High-Bandwidth register to 0. But that brings other issues. We still don’t know whether or not it is feasible to display a high-density graphic in the 64K-RAM PCjr. Although everything seems to indicate that it is not feasible.
The not-so-bad news is that the 128K-RAM PCjr (the most popular model), is as slow as the 64k-RAM version but runs the demo correctly. No glitches in the graphics.In fact, if we had targeted the 128k-RAM version, probably we could have fit everything in a single executable + our bootloader.